
On the Supsis AI panel, there are essential tools, communication modules, and personal configuration areas designed for representatives to conduct their daily operations efficiently, quickly, and accurately. Agents can manage incoming customer requests, collaborate internally with team members, and customize their profile and notification settings according to their personal preferences.
1- Chat Menu and Filtering Options
The Chat Menu brings together customer inquiries coming from all your integration channels (WhatsApp, Webchat, Instagram, Messenger, Email, etc.) onto a single screen and enables you to track all customer interactions in real time.

1.a- Filtering Options
You can filter conversations by date range, department, channel/platform, tag, or agent to access targeted customer chats within seconds. Advanced filtering options help you identify priority requests during high message volumes, balance agent workloads, and improve operational efficiency.
1.b- Easy Tracking and Quick Response
The Supsis Chat Menu prioritizes agent habits and response speed: - Personalized Listing: View conversations assigned to you, pending in queue, or open to the entire team in separate tabs. - Canned Responses: Reply to frequently asked questions with standardized templates in a single click. - Customer Information Card (CRM): Instantly view the visitor's past chat history, contact details, and custom notes from the right-hand panel.
2- Team Chat (Internal Team Communication)
The Supsis AI Team Chat Module is designed to strengthen internal communication between departments and team members, consult before transferring customer conversations, and accelerate knowledge sharing across the company.

2.a- Creating New Groups
Team leaders and agents can create project-based or topic-oriented new groups. Users registered in the Supsis system can be included in these groups based on their permissions.
2.b- Message Filtering (All, Department, Groups)
Messages received via team chat are managed through 3 primary filters: * All: Chronologically lists all group, department, and individual messages you are a member of. * Department: Displays only official messages belonging to the department you are assigned to. Departments are synchronized automatically; when an agent is added to a department, they are automatically added to the department chat, and when removed from a department, they are removed from the group as well. * Groups: Filters messages coming from custom project or working groups.
2.c- Entire Team (TEAM Channel)
A general company-wide channel that includes all active registered users. When a new user is added to the system, they are automatically enrolled in the TEAM channel; when a user is removed, they are removed from the channel.
2.d- Personal Notes Area
A private notepad area visible only to you. You can safely store your daily tasks, customer reminders, or links you need to follow up on.
2.e- Department Chats and DM (Direct Messages)
- Department Communication: Dedicated spaces where department members discuss topics related to their expertise.
- 1-on-1 Direct Messaging (DM): Select any colleague from the user list to send private direct messages instantly.
2.f- Media and Document Archive
All images, videos, audio recordings, and PDF/Excel documents shared in group and direct chats are gathered in the archive tab. This allows you to find any document quickly without scrolling through long chat histories.
3- Customizing Agent Profile and Notification Settings
Each agent's panel interface, notification sounds, and working preferences are independent. Agents can access the User Settings (/profile) page directly by clicking the avatar icon in the bottom-left corner.

3.a- Profile Settings (Username and Conversation Language)
Configure your display name and default conversation language from the Profile tab:

- Username: You can edit your displayed first and last name and save it with the Update Username button. This name is shown to customers and team members.
- Conversation Language: Defines the working language used as a reference by the automatic translation engine. When a customer writes in a different language, their messages are automatically translated into this language.
3.b- Change Password
To protect account security, you can define a new password by entering your current password.

3.c- Notification Settings and Sound Preferences
Through the Notification Settings tab, web, mobile, and email notifications can be configured in detail:

- Notification Channels: Enable or disable Web Panel, Mobile App, and Email notifications independently.
- Notification Type and Sound Selection: Assign distinct notification sounds for different events such as new visitor, new message, or transferred conversation.
- Volume Level and Infinite Loop: Adjust notification volume. With the "Loop notification sound when assigned a message" option, the alert sound keeps repeating until the agent clicks on the panel and takes action.
- Temporary Snooze (Do Not Disturb): Mute all notifications during breaks or meetings for 30 minutes, 1 hour, 4 hours, or until tomorrow.
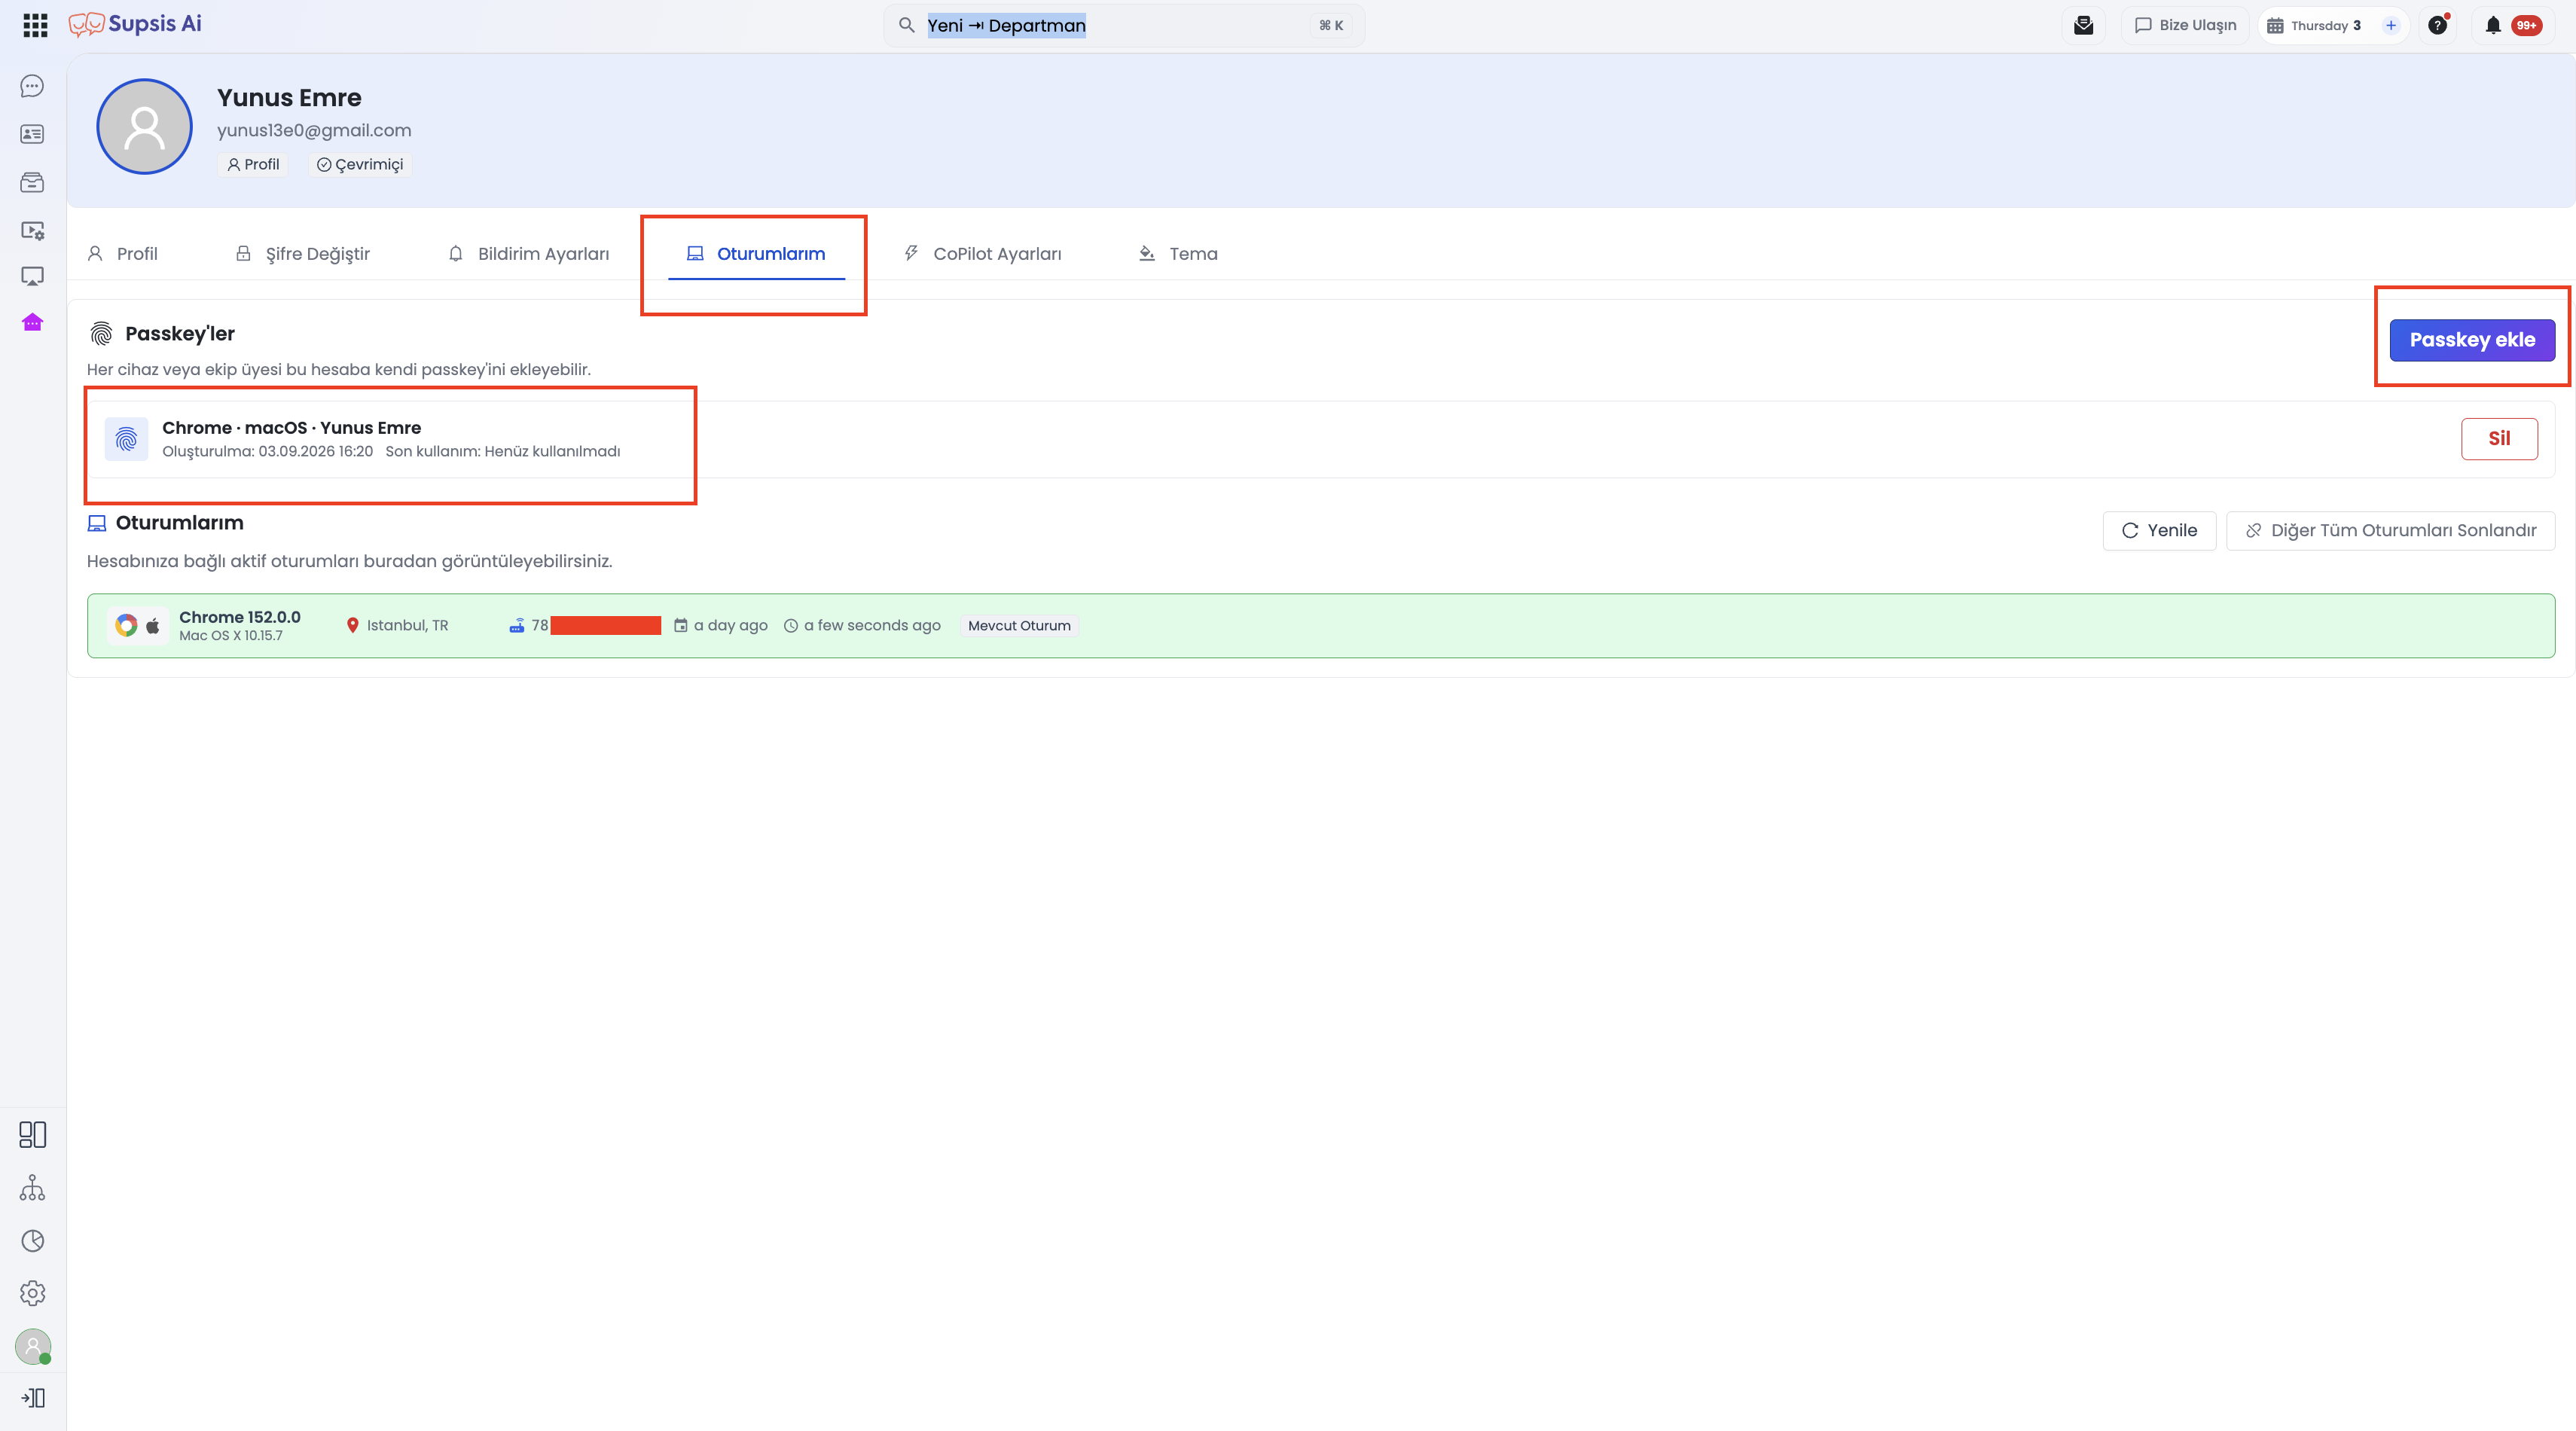
3.d- My Sessions and Passkey (Biometric Login)
Add biometric authentication keys such as Touch ID, Face ID, or Windows Hello for passwordless and secure login, and manage active browser sessions.
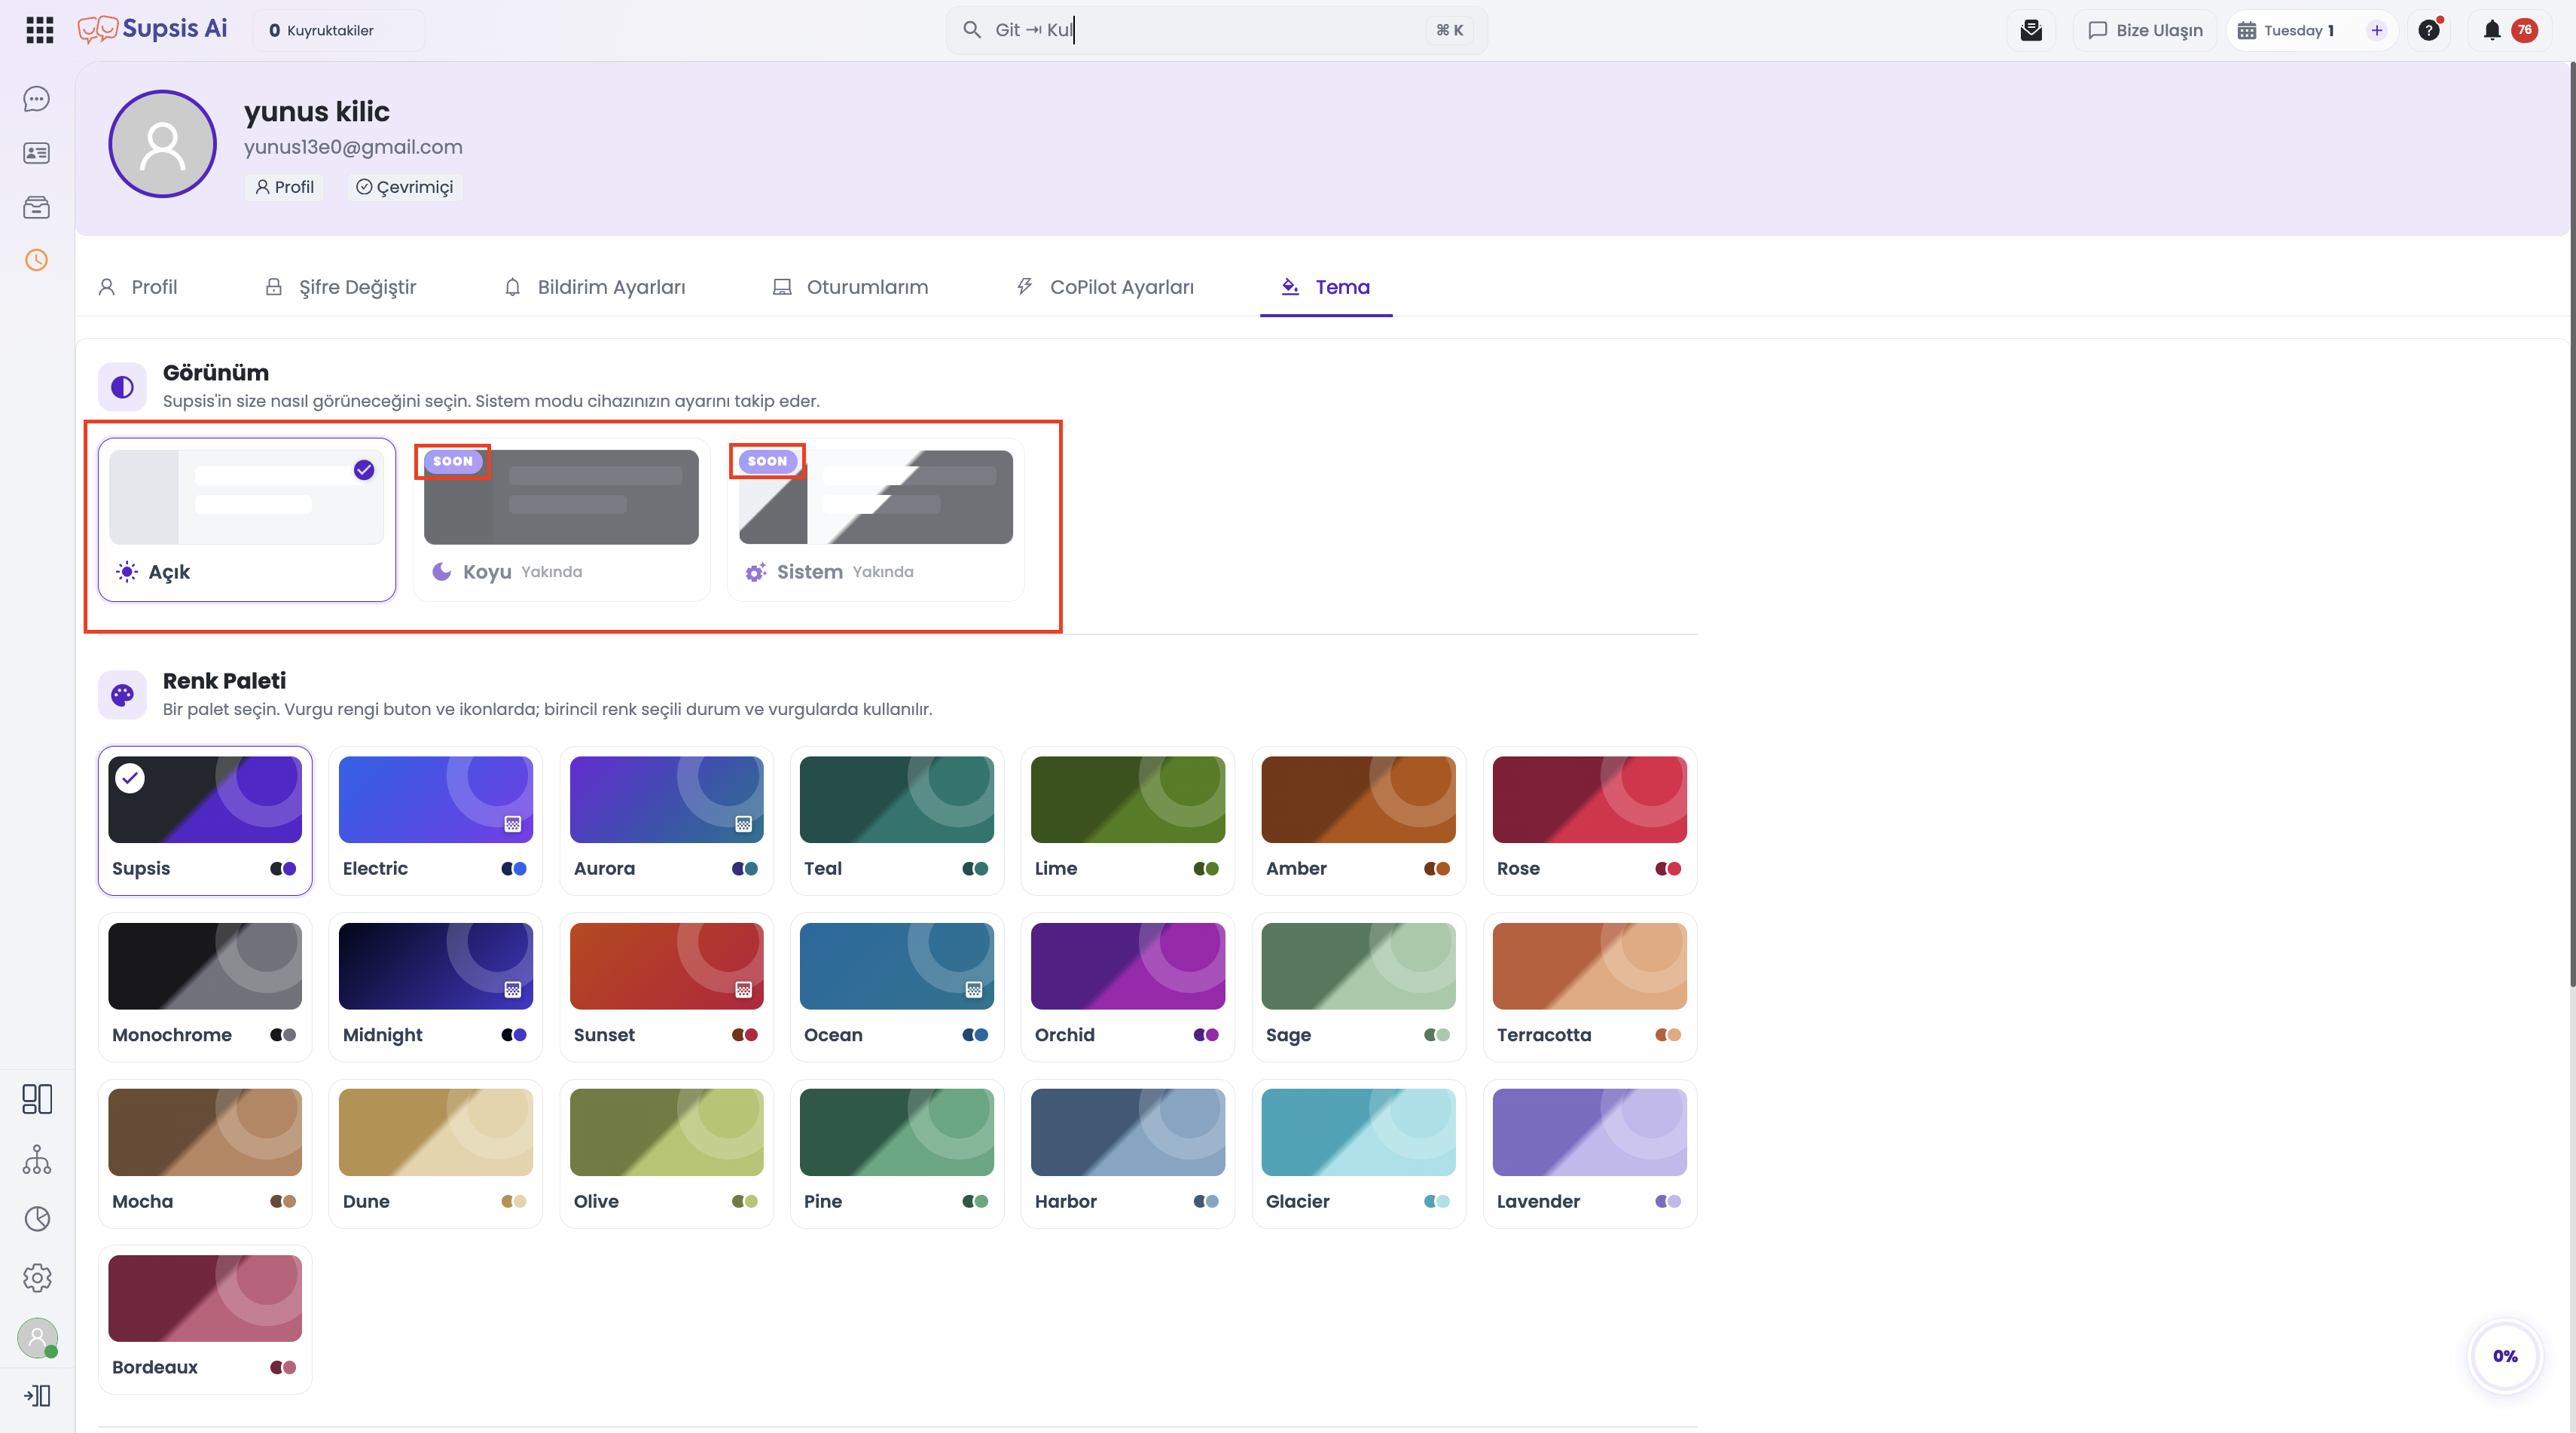
3.e- Theme and Appearance Preferences
Personalize your panel with Light, Dark, or System appearance modes, and select from 22 pre-designed color palettes.
4- Agent Statuses
Agent statuses define the agent's real-time availability and eligibility for the automatic chat assignment algorithm. You can switch your status in seconds by clicking the user avatar in the bottom-left corner.
| Status | Description | Chat Assignment State |
|---|---|---|
| Online | The agent is actively working and available to receive new customer chats. | Active |
| Be Right Back | Used for brief absences (coffee/tea break, etc.). | Paused |
| Busy | Indicates the agent is in an intensive meeting or handling high workload. | Paused |
| Offline | Indicates the agent is off-duty or completely disconnected from the system. | Paused |
Automatic Assignment Algorithm
All statuses other than "Online" completely stop new chat assignments to the agent. Different status options are provided to give transparent visibility to team leads and maintain accurate reporting analytics.
For detailed steps on agent settings and status transitions, review the Agent Details Documentation page.