Task Management Page General Features
Task Management Module allows you to manage workflows and organizational processes of the Supsis AI platform more efficiently and effectively. This module enables teams and representatives to easily track, assign and complete tasks. The Task Management Page has a user-friendly interface on the Supsis panel and offers various features to make your business processes more organized.
The module allows you to visually organize your tasks with the kanban method. This way, the status and tracking of tasks can be done easily. Additionally, you can determine the difficulty level of each task, assign representatives and plan for your tasks to be completed within specific date ranges. You can add descriptions for tasks, upload file attachments and leave comments about tasks by collaborating with team members.
All these features ensure that your workflows progress smoothly while helping you increase efficiency and manage your processes more effectively. Thanks to this module, task management becomes much more organized, structured and easy.
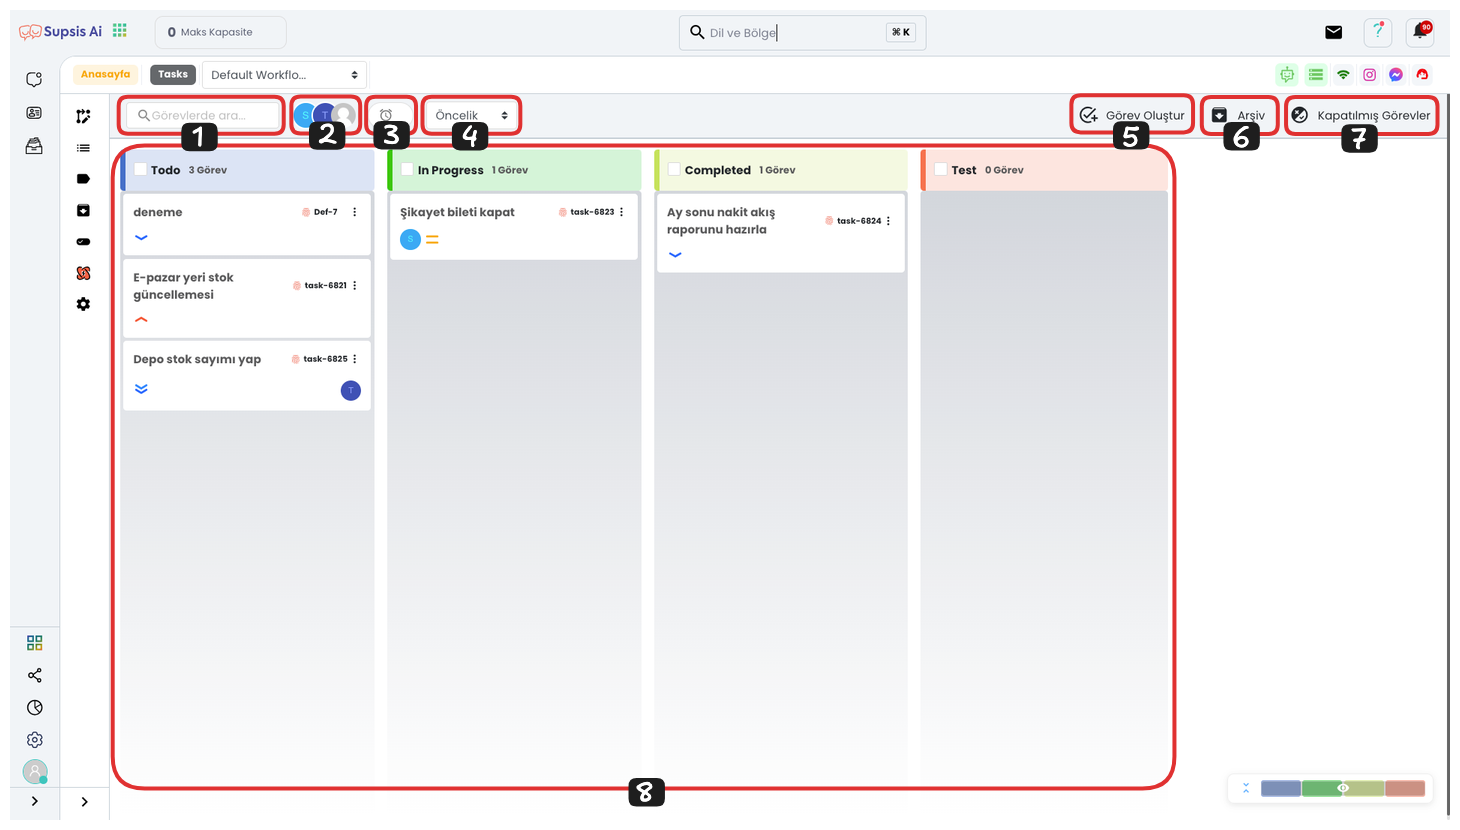
Task Management Elements:
- Search Task
- Representative Filter
- Expired
- Priority
- Create Task
- Archive
- Closed Tasks
- Kanban Board
1.) Search Task
If you have many tasks and cannot find the task you want, you can search among your tasks using the "Search Task" section. Thanks to this feature, you can quickly find a specific task and save time. You can easily reach the task you are looking for by searching through task names, descriptions or other criteria.
2.) Representative Filter
From this section, you can filter tasks by selecting one of your representatives assigned to the task. For example, to see only your own tasks, you can view only the tasks assigned to you by clicking on your own username. Additionally, you can view tasks that are not assigned to anyone and take these tasks on yourself or assign them to another representative. This feature makes task management more flexible and efficient, so each representative can easily track their own tasks and take over others' tasks when needed.
3.) Expired
From this section, you can view your tasks that have expired but are not completed, reorganize their durations or archive these tasks if you wish. This feature provides flexibility when you cannot complete your tasks on time and makes it easier for you to handle your incomplete tasks later. Additionally, you can save tasks for future analysis by archiving them or remove tasks that have become unnecessary from the system.
4.) Priority
To filter your tasks according to their priorities, you can mark the priorities you want from the dropdown list in the "Priority" section, ensuring that only tasks with the priority you specify are filtered. This feature helps you quickly distinguish your priority tasks and manage them more efficiently.
5.) Create Task
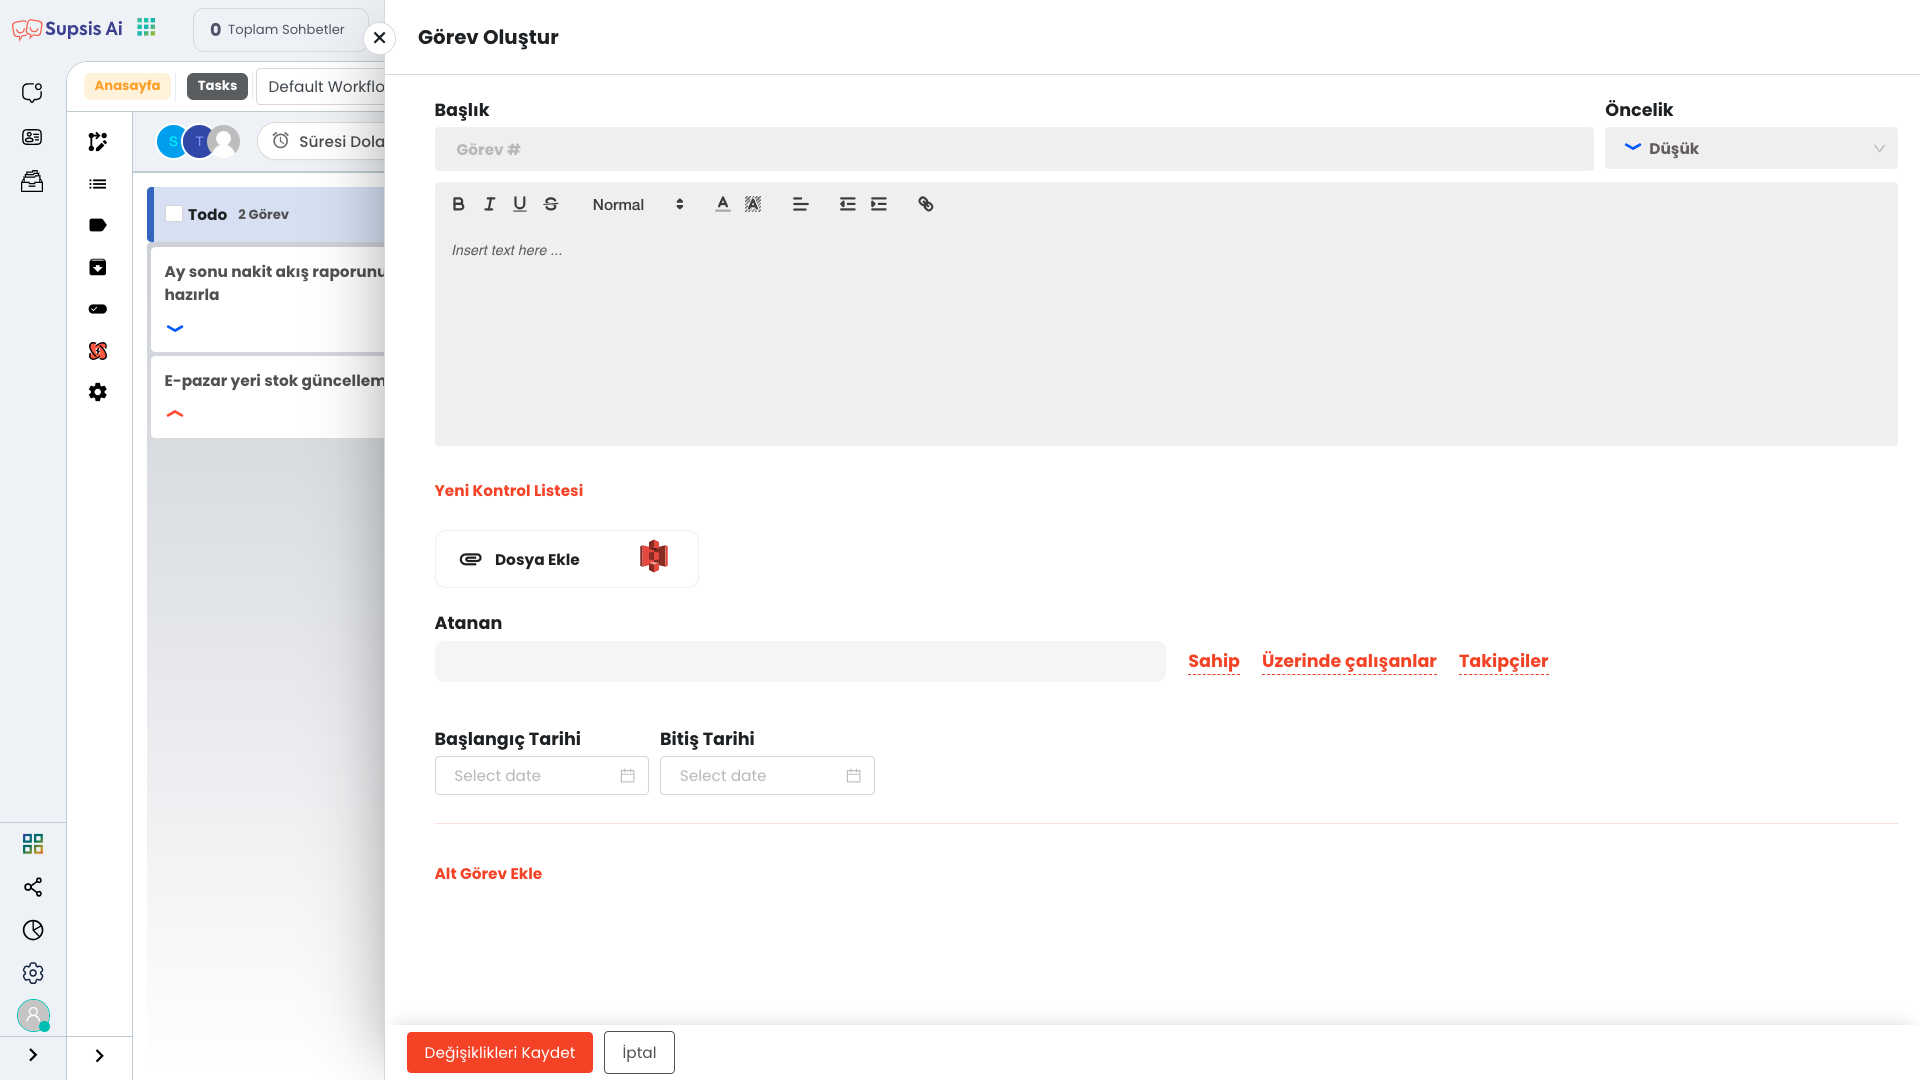
To create a task, click the "Create Task" button and enter the task title and description in the opened window. Determine the task priority (Lowest, Low, Medium, High, Highest), add files and select the representative you will assign the task to. Additionally, you can determine start and end dates for the task and make the task more detailed by adding subtasks. You can create and manage your task by following these steps.
6.) Archive
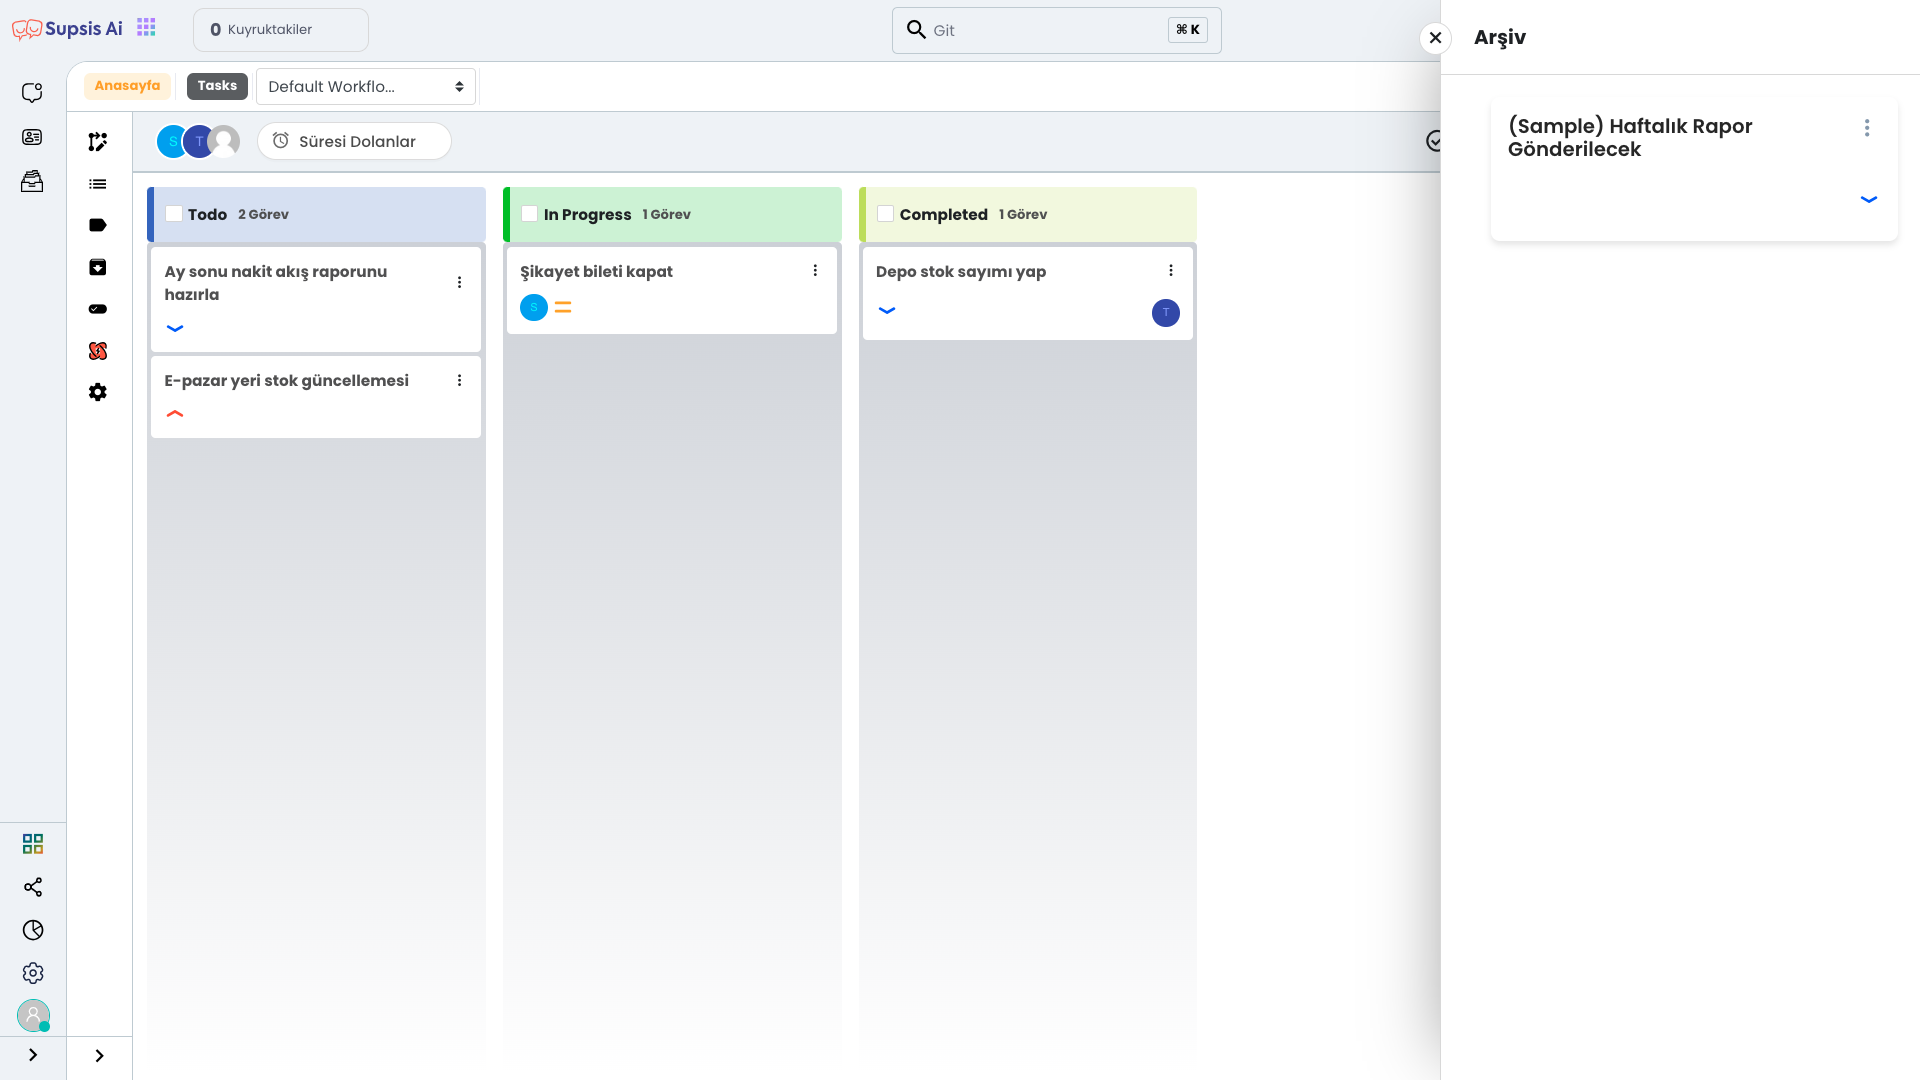
In this section, you can view all the tasks you have previously archived in this workflow by clicking the "Archive" button. Additionally, to see all other archived tasks, you can access all your archived tasks by going to the "Archive" page from the left menu.
7.) Closed Tasks
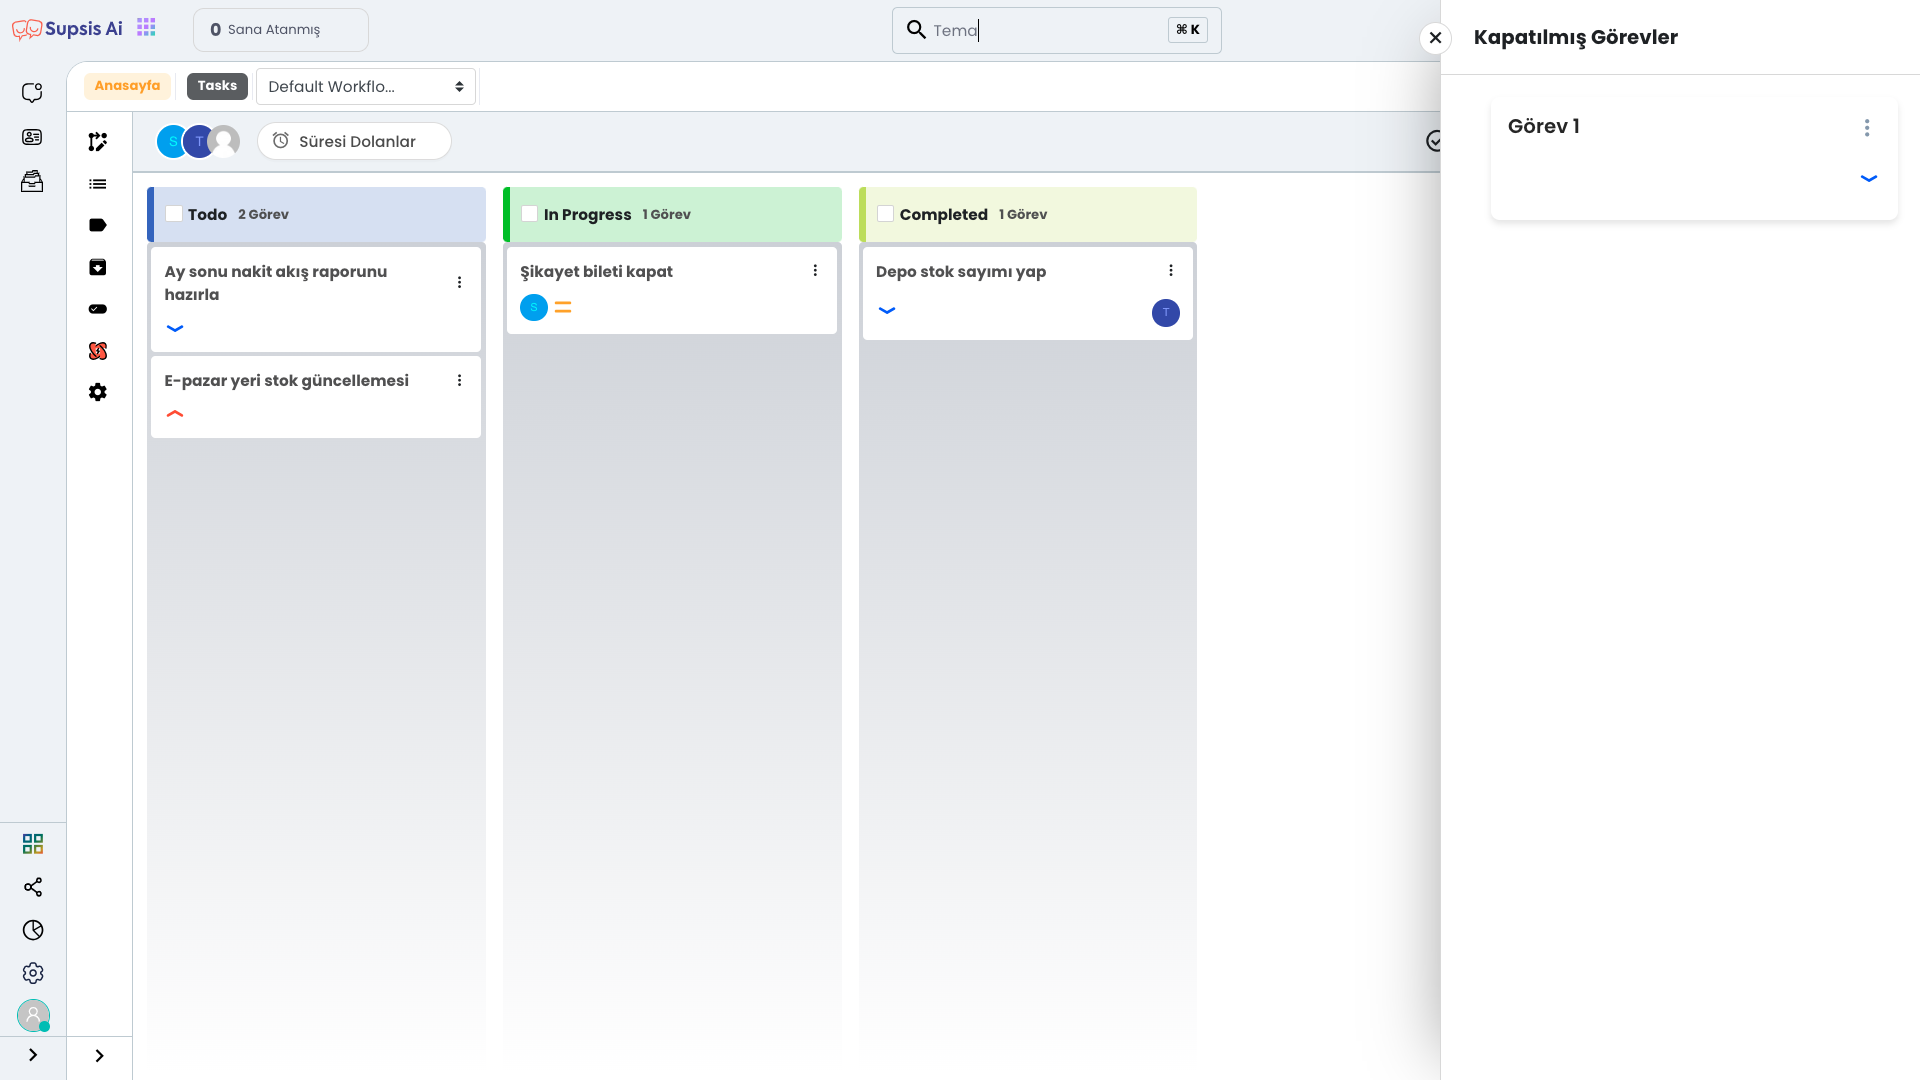
In this section, you can view your closed tasks that you have previously completed in this workflow by clicking the "Closed Tasks" button. Additionally, you can view all the tasks you have previously completed by clicking the "Completed Tasks" option from the left menu.
8.) Kanban Board
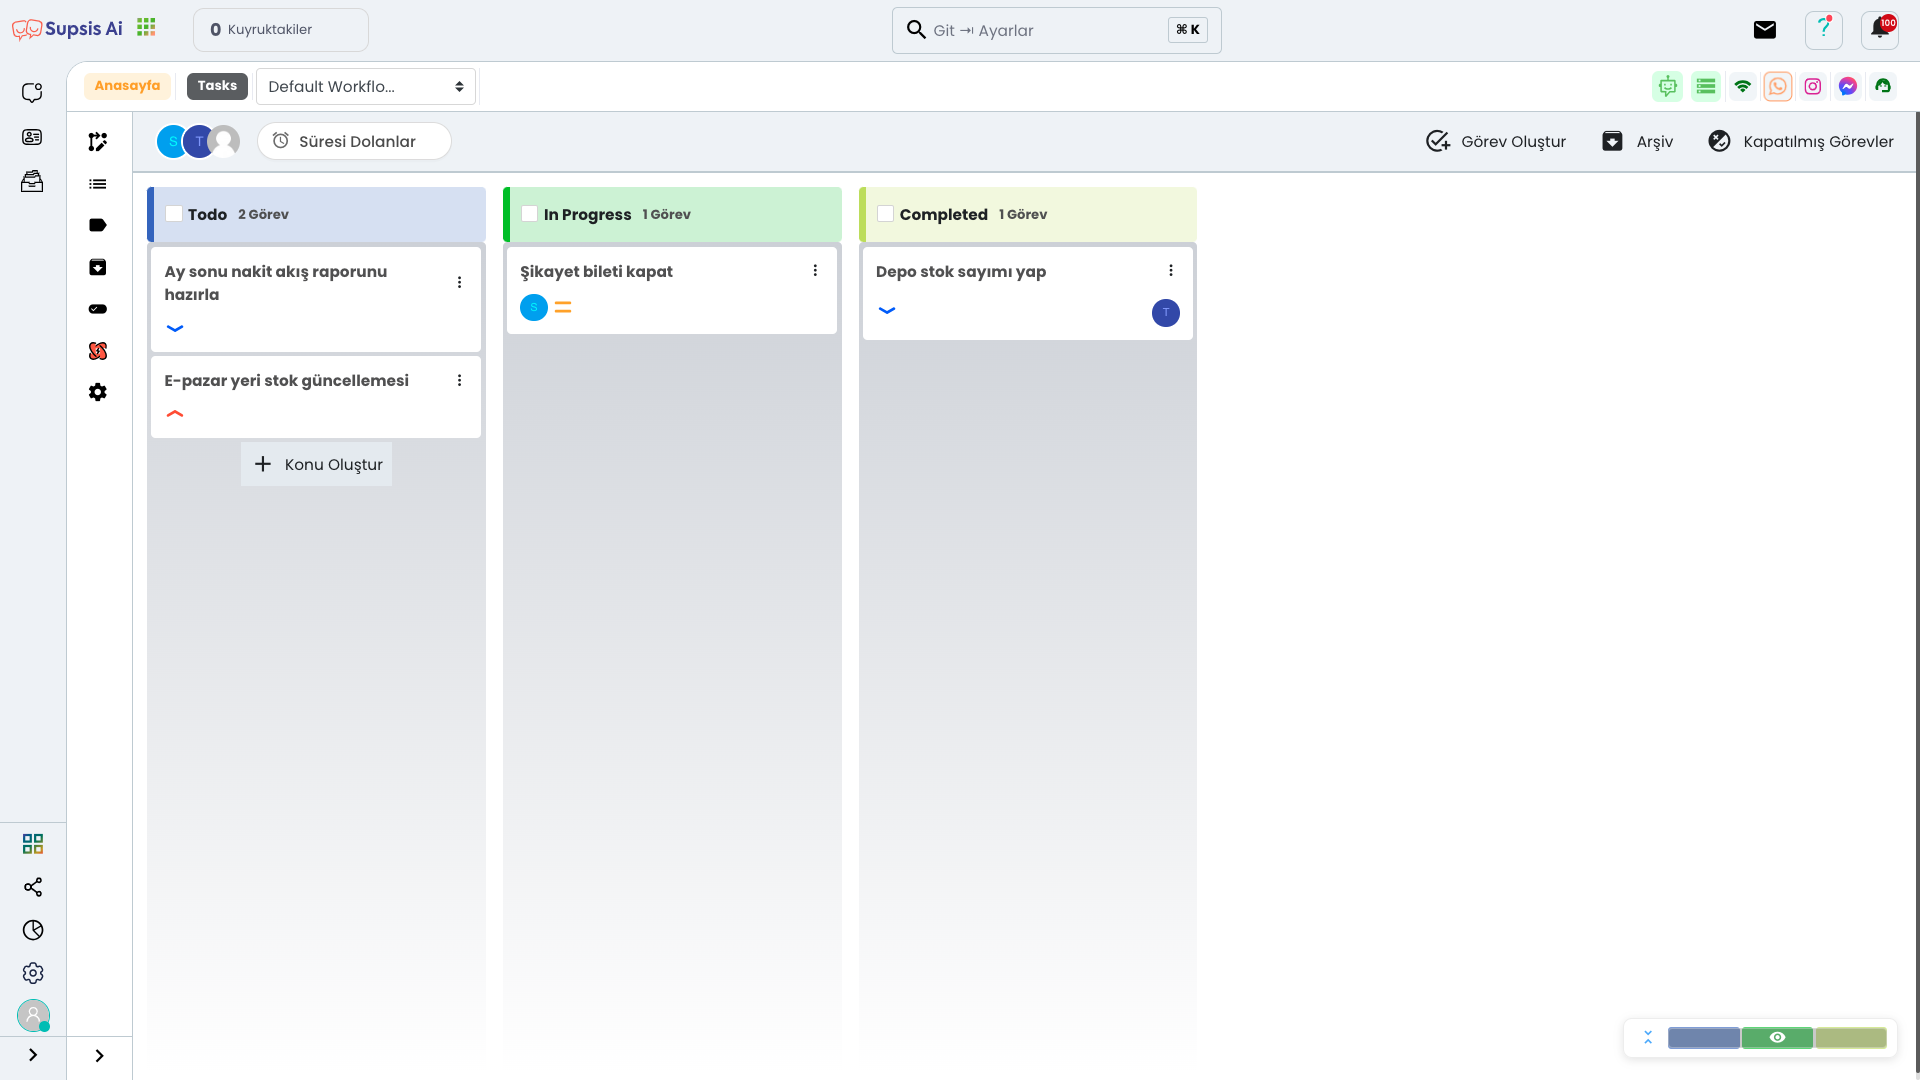
From this section, you can view your tasks as Kanban and change the status of your tasks using the drag and drop method. Additionally, you can quickly create a new topic using the "Create Topic" text that appears when you reach the bottom of your tasks. You can edit task details in more detail by clicking the three-dot icon on the edges of your tasks. You can access more information about the Kanban Board from here.