Table Content
Table Content, After creating your table, you can add various field types by clicking the "Add Field" option on the page that opens to add content to your table. These fields include Text, Long Text, Number, Currency, Date & Time, Dropdown List, Checkbox and many more options. This way, you can customize your table according to your needs.
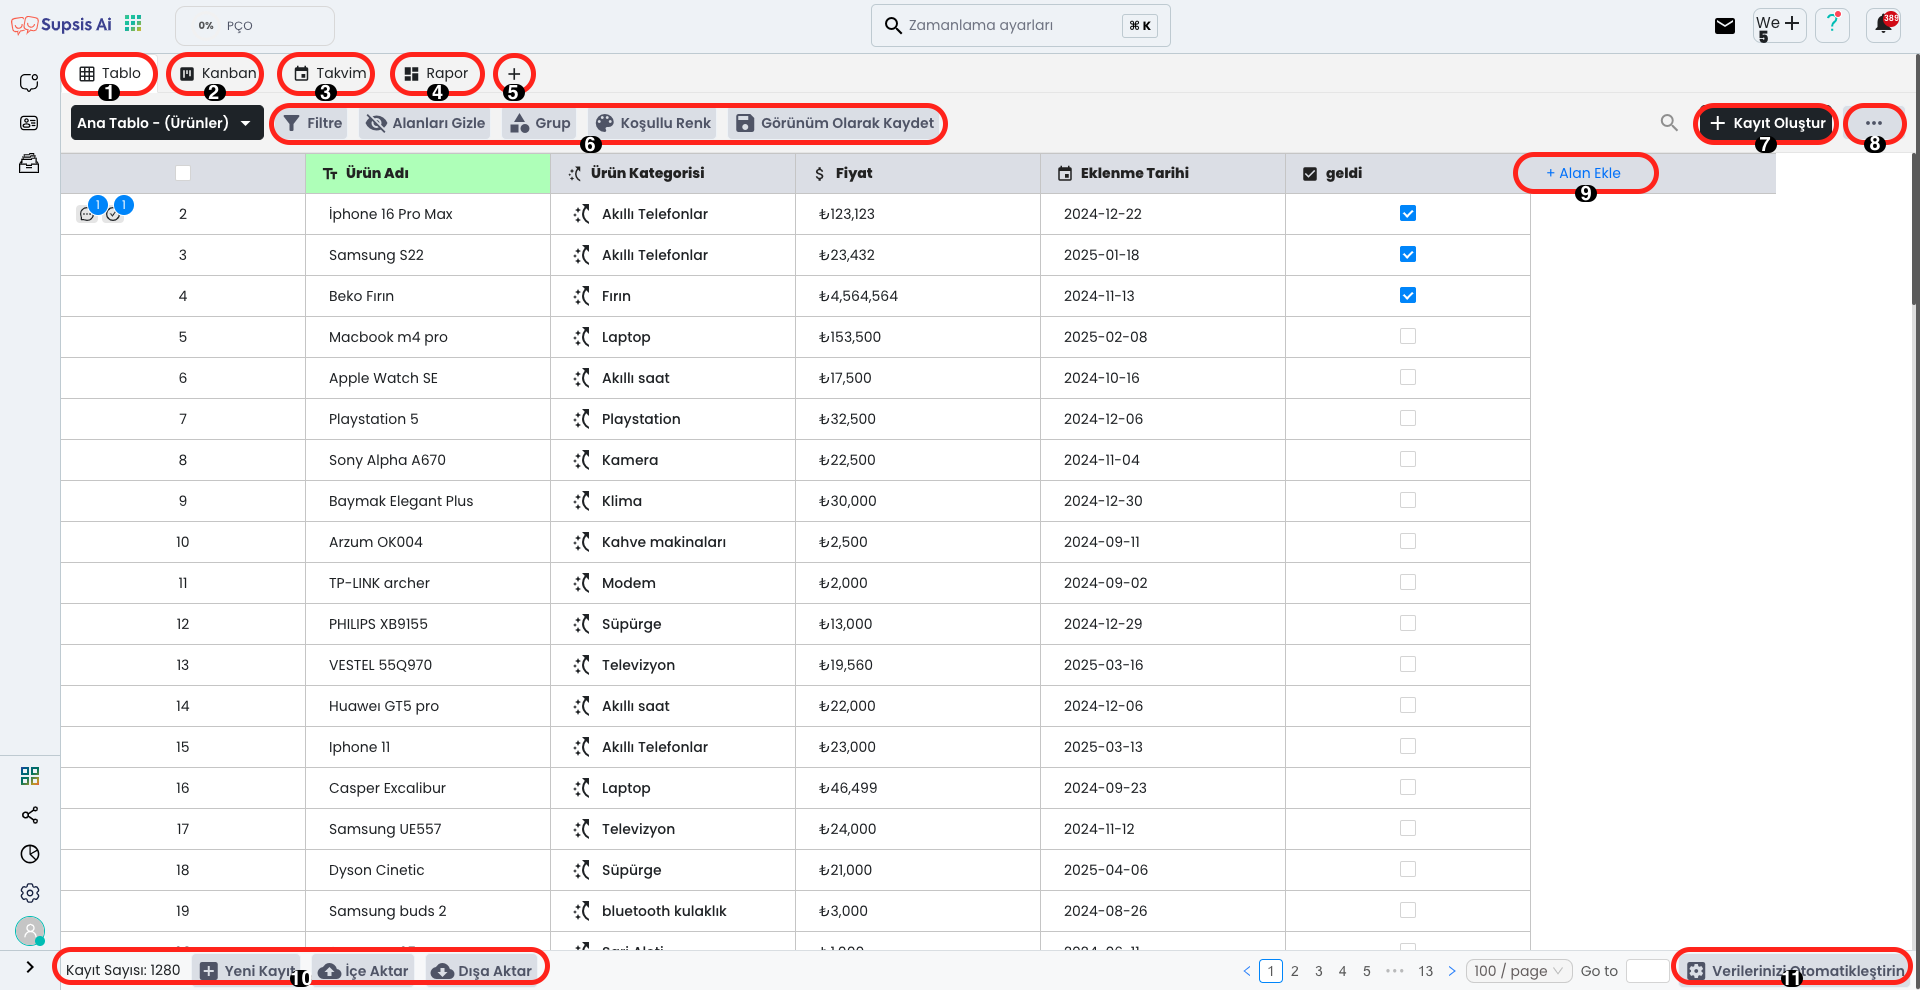
Table Content Elements: 1. Table 2. Kanban 3. Calendar 4. Report Page 5. Create Page 6. Filters 7. Create Record 8. Import 9. Add Field 10. Operations 11. Automate Your Data
1.) Table
In this tab, you can view all records in your created table in detail. Records list each data in your relevant table in an organized way and allow you to easily access the content of each record. Additionally, you can perform various operations on the data here, update or delete information belonging to records.
2.) Kanban
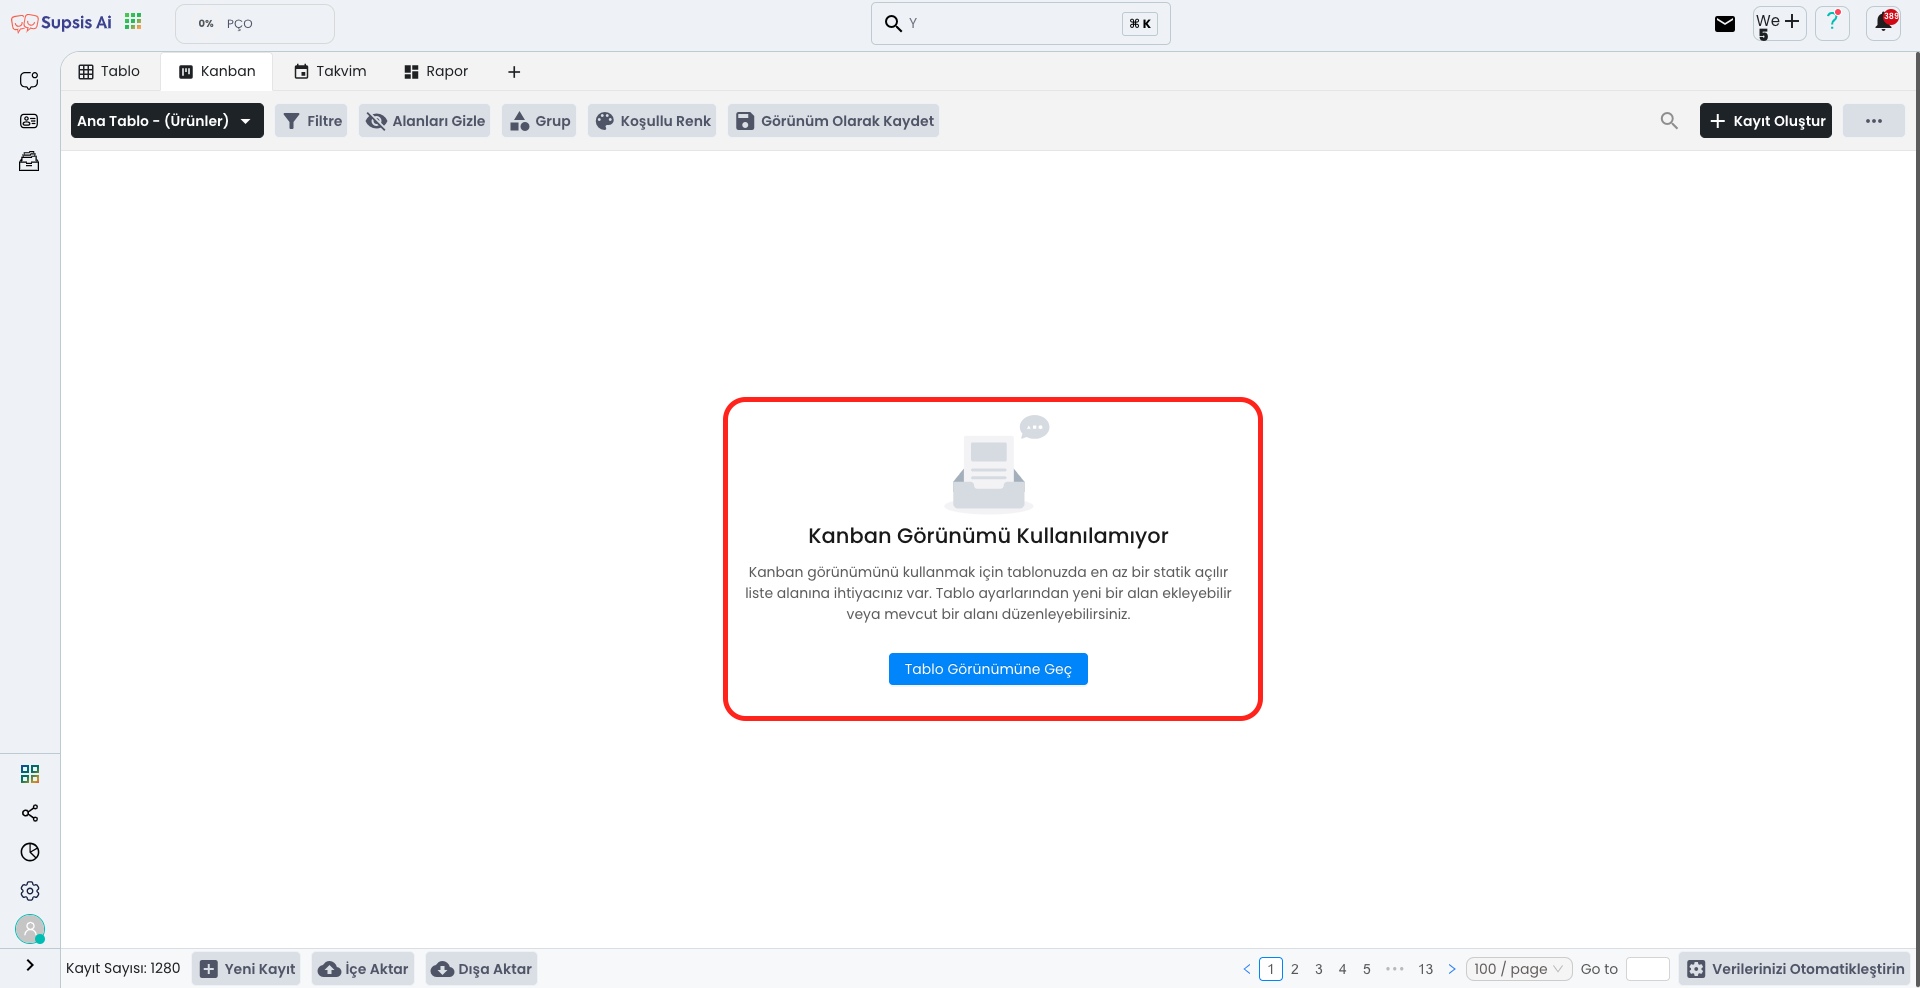
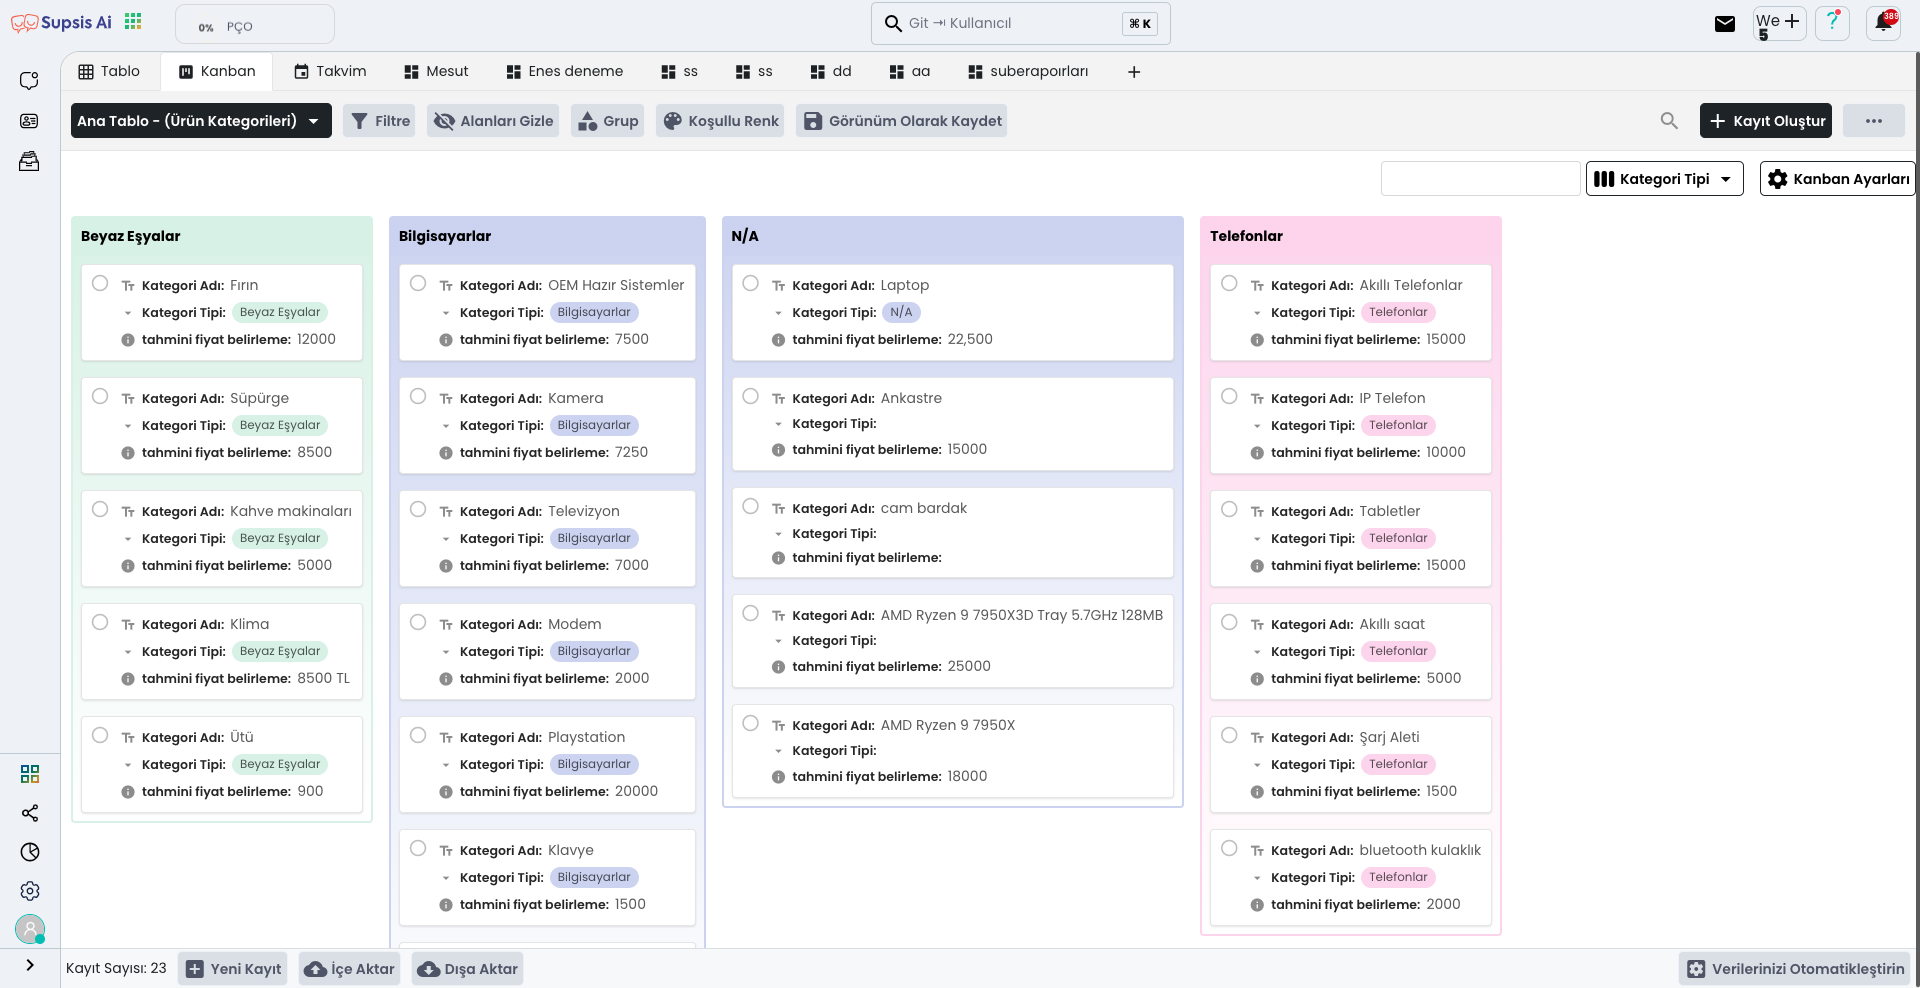
To use this area, you need to create at least one dropdown list. In the example in the image, a dropdown list has been created from product categories and data has been grouped according to this list. After creating the dropdown list, you can manage your records more efficiently with the Kanban technique. Thanks to this technique, you can categorize items into different categories, mark, edit and track the progress status of each item.
3.) Calendar
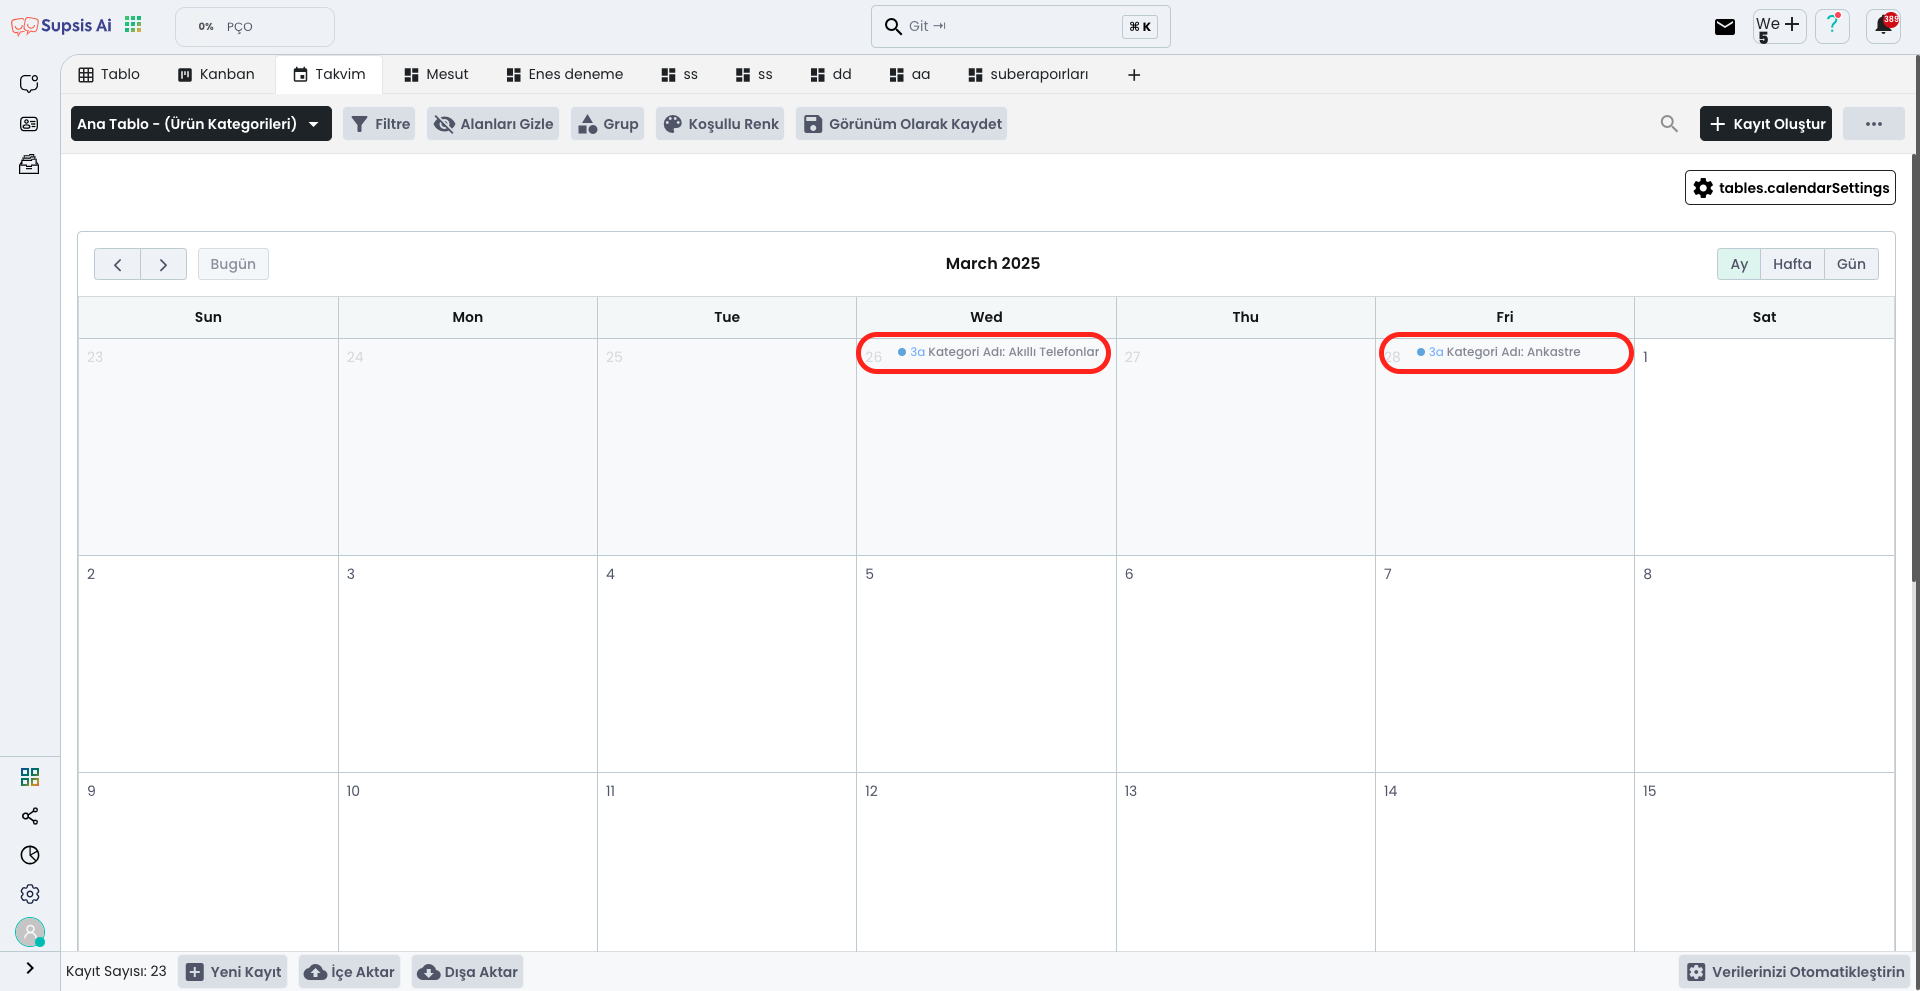
To use this area, you need to add at least one date and time field. This area allows you to visually display the dates of your records on a calendar in Month, Week and Day formats. This way, you can more easily track the timing of your records and organize your data based on dates.
4.) Report Page

This page keeps reports of your table and allows you to analyze your data in detail. Additionally, you can customize this area with custom widgets as you wish and enrich it with different components. By giving the page any name you want, you can make your reporting process more personalized and efficient.
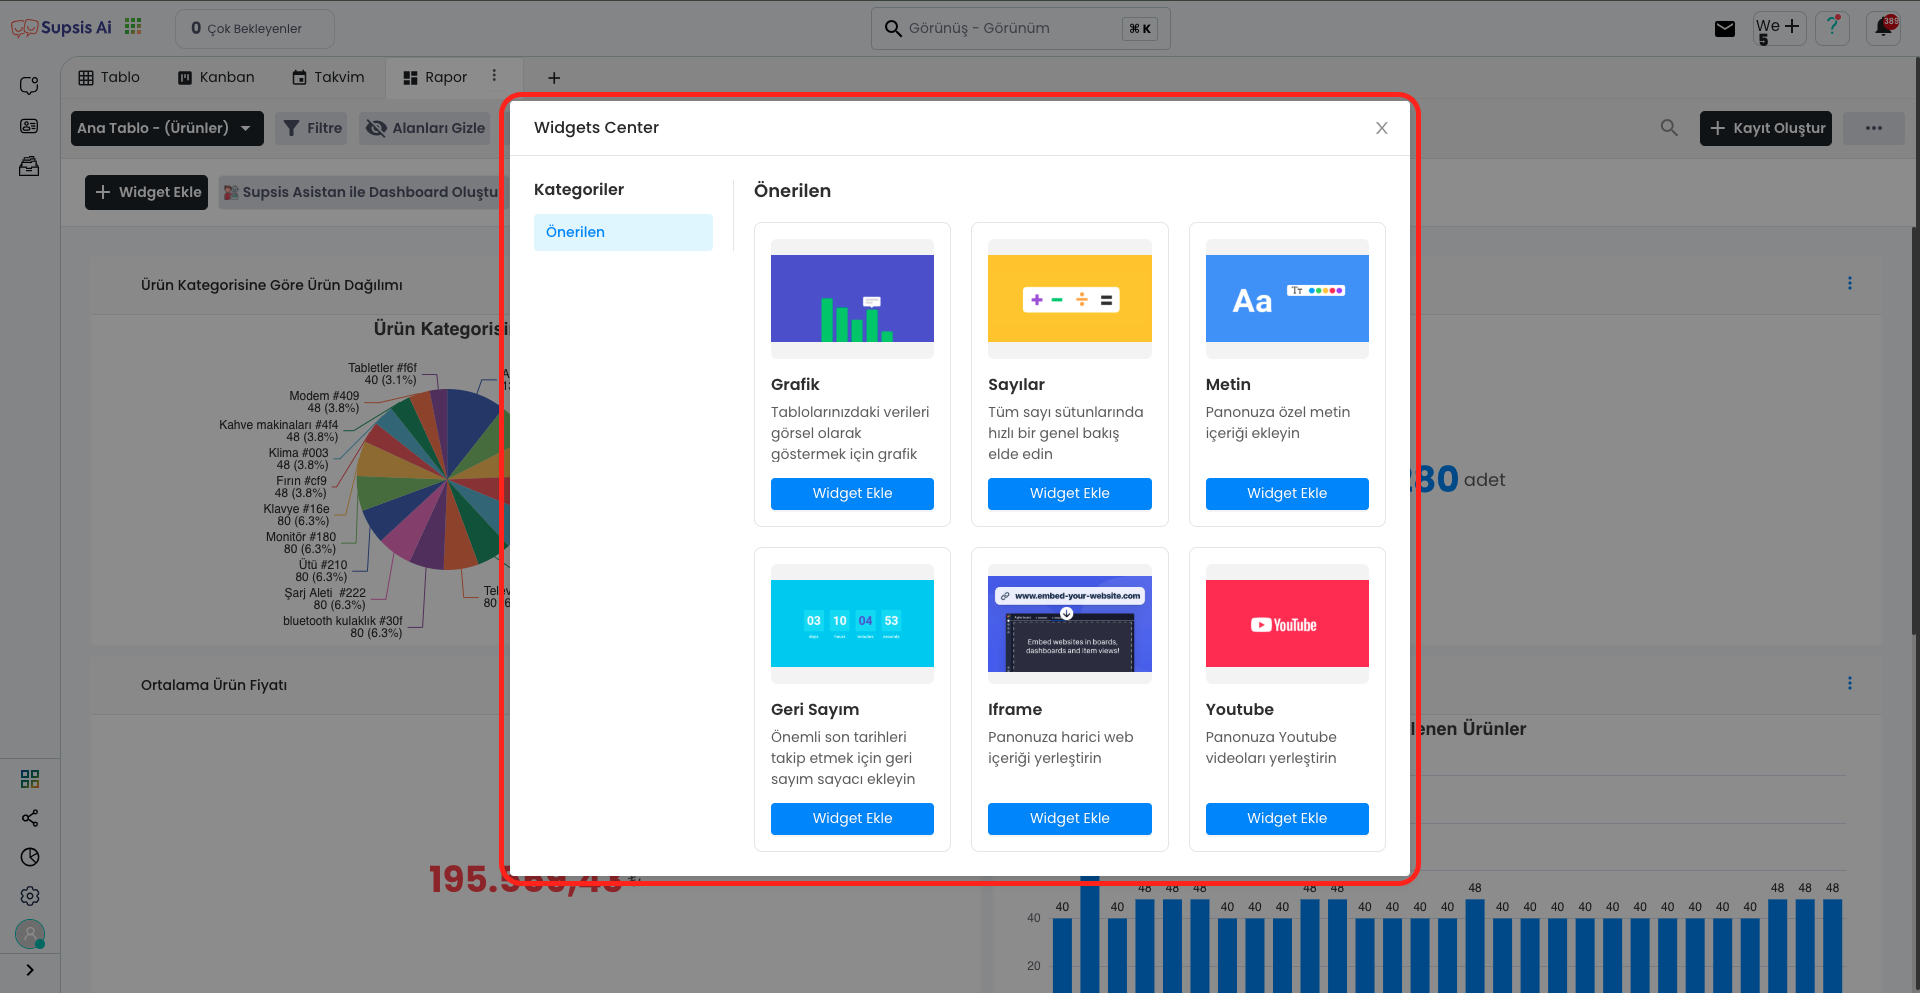
By clicking the Add Widget button, you can select the widget suitable for your needs from the opened modal window, and then customize this widget and start using it as you wish. This way, you can make your page more functional and user-friendly.
5.) Page Creation
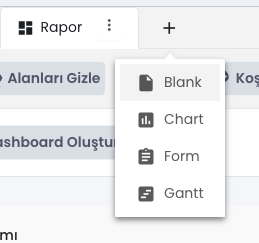
You can create as many pages as you want like this. To create a new page, click the + button and select one of the "Dropdown Page", "Report", "Form" or "Gantt" options from the opened list to determine the page type suitable for your needs. This way, you can organize your data in different ways by creating different types of pages.
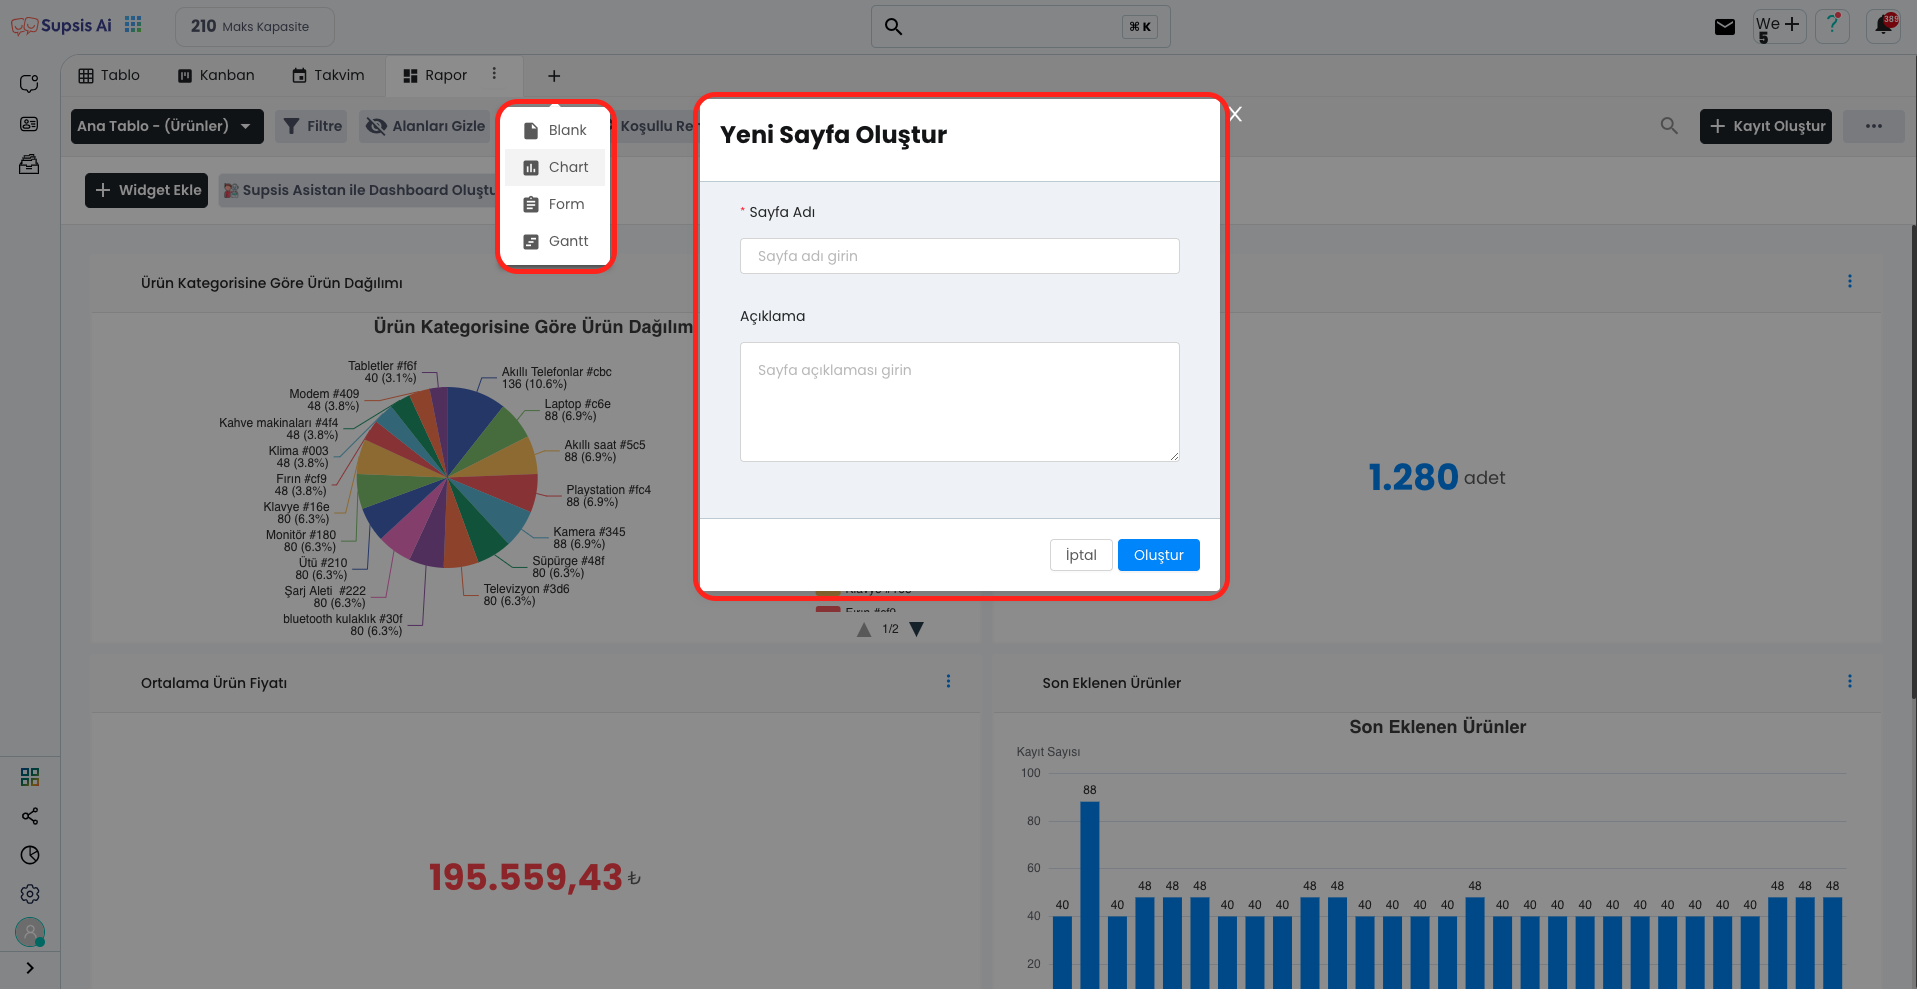
From the opened modal window, you can complete the process by entering the page name and description for the page you will create. This information will make your page more organized and understandable, making management easier.
6.) Filters
In this section, you can perform various operations.
With the Filter button, you can filter data according to specific criteria,
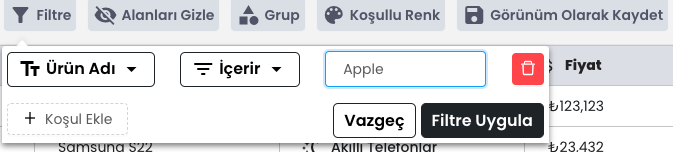
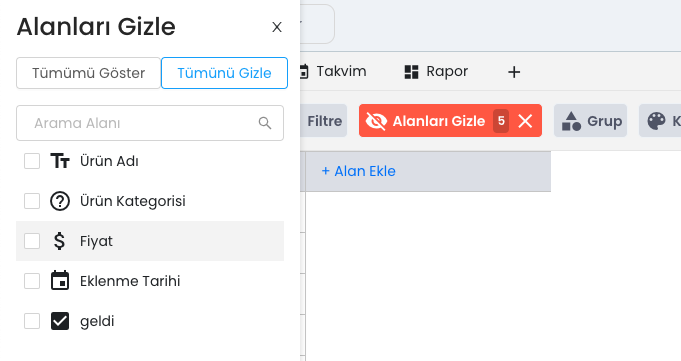
With the Hide Field option, you can hide unwanted fields.
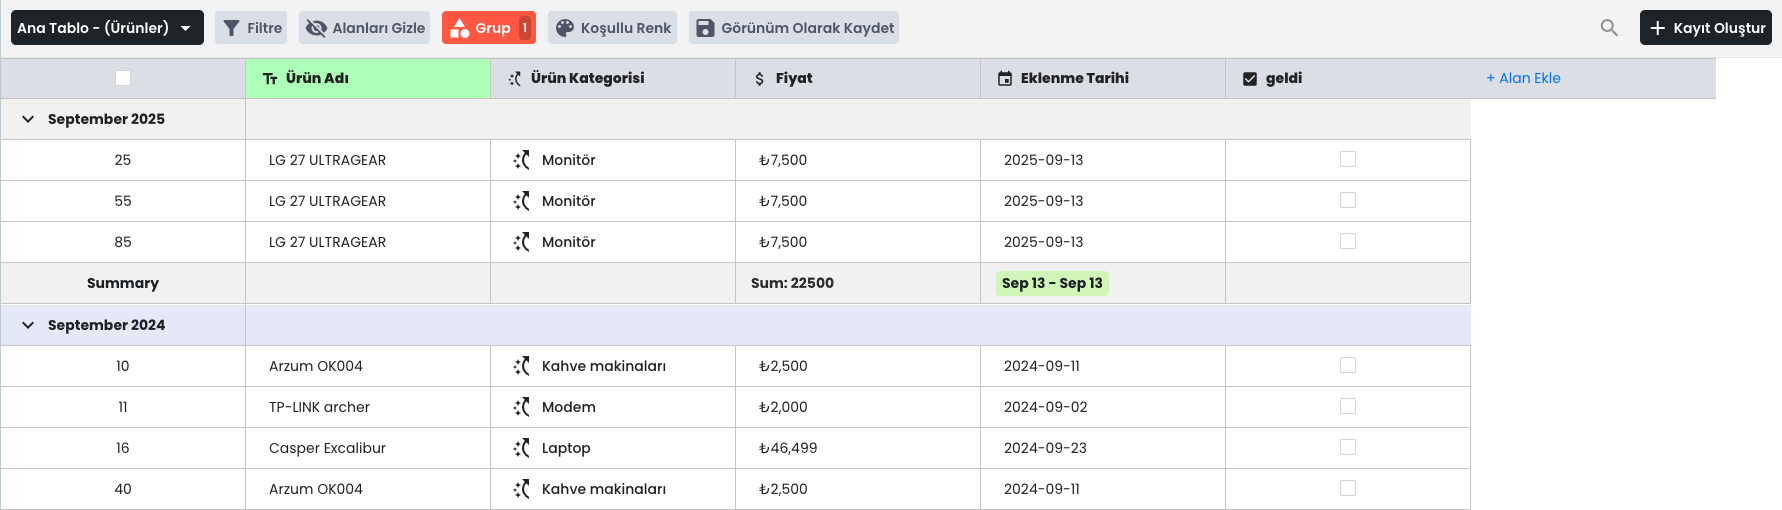
With the Group button, you can group your data by categories,
With the Conditional Color feature, you can add colors according to specific conditions.

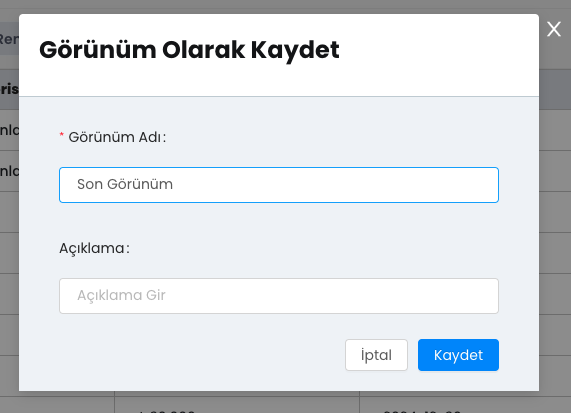
Finally, you can save your arrangements with the Save as View button and easily access the same view whenever you want.
7.) Create Record
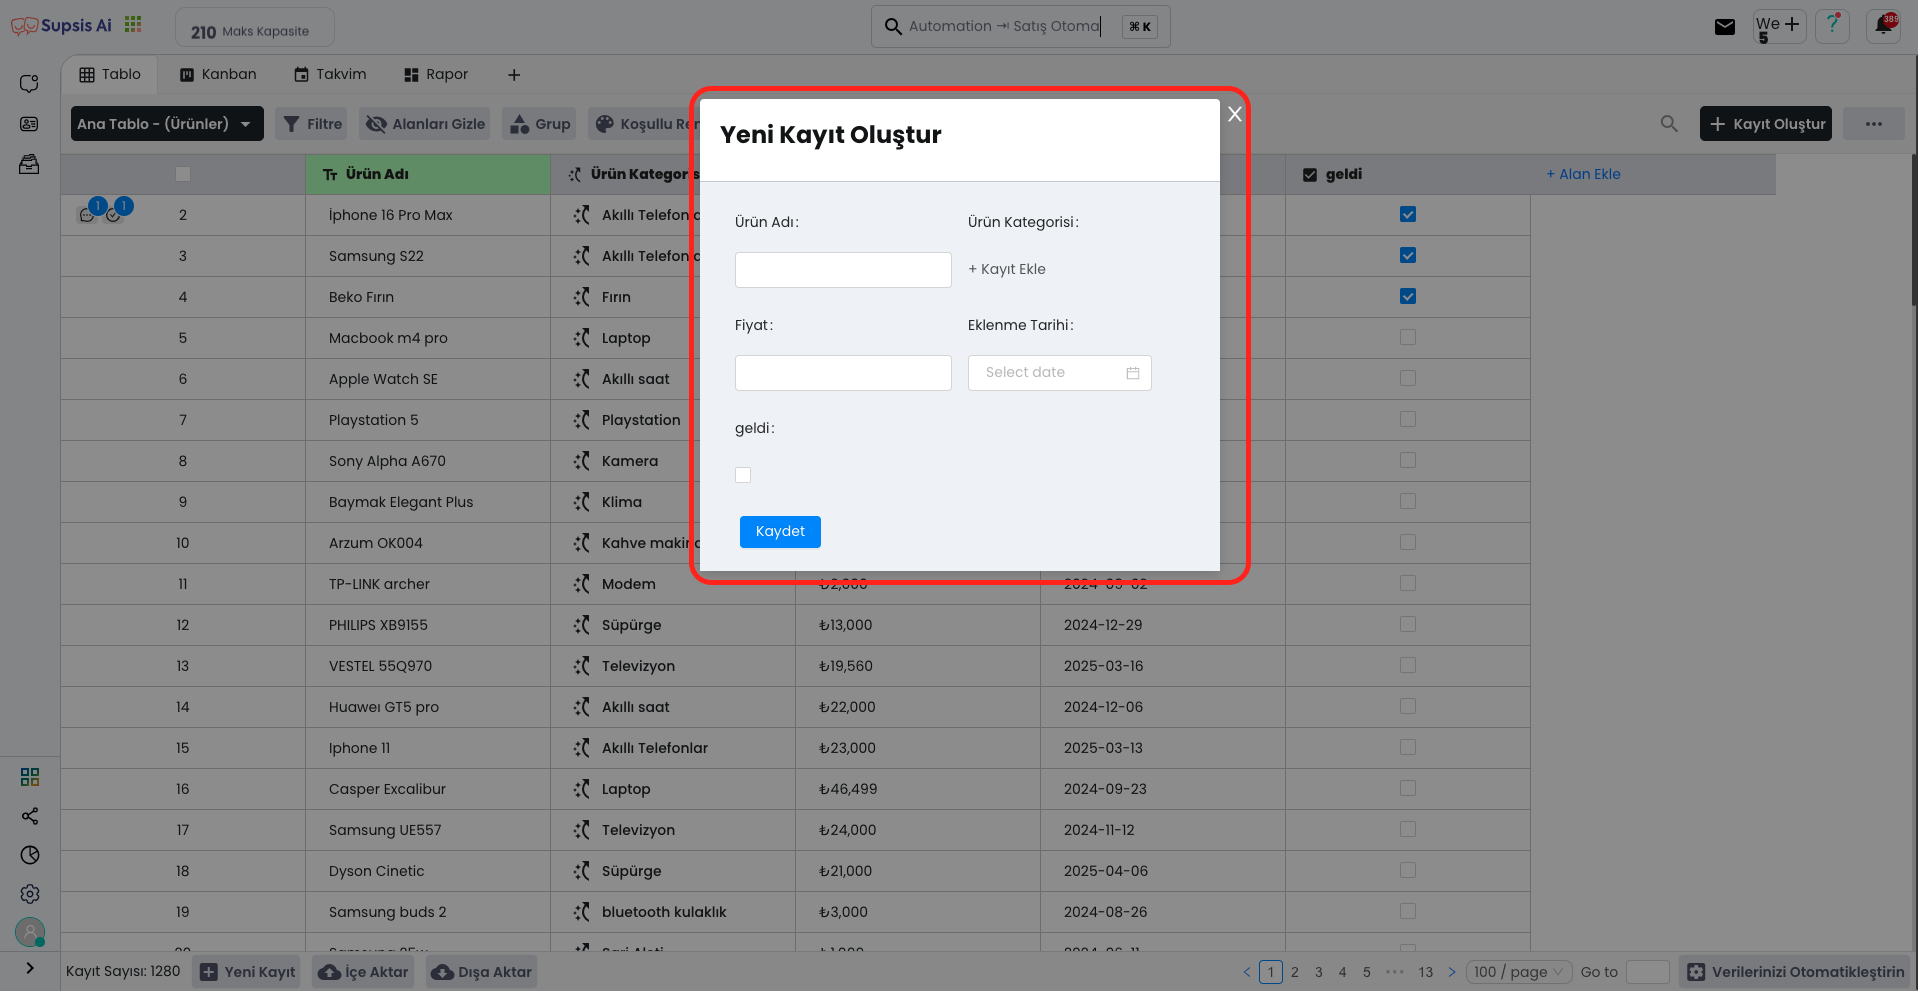
After filling in the necessary information from the modal window that opens by pressing the Create Record button, you can add a new record by clicking the Save button. This operation allows you to add a new record to your database and the record you create takes its place in your table.
8.) Import
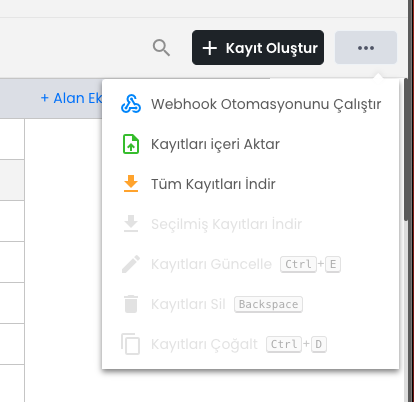
In this area, you can view download options and shortcuts from the menu that opens by clicking the "..." button. After clicking the Download Records option, you can download your data in Excel format. This way, you can easily export your records and use them on other platforms.
9.) Add Field
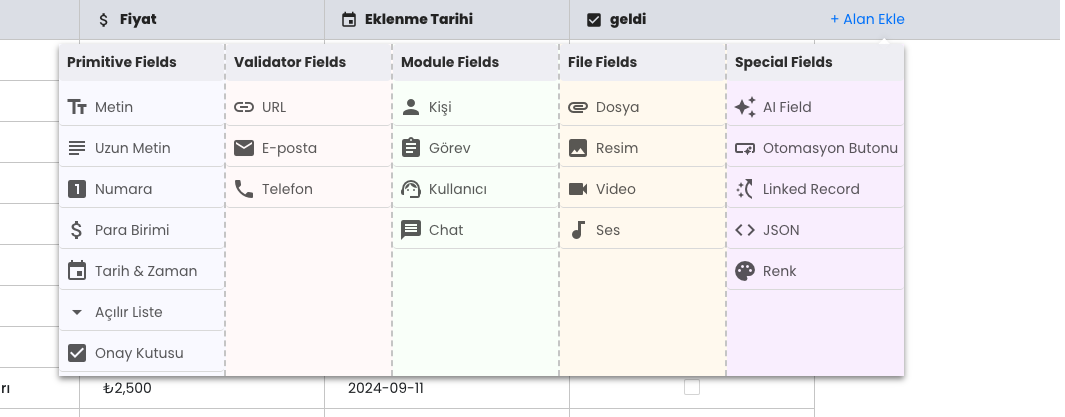
You can add different data types suitable for your needs from the Add Field section. The fields you can add are: - Text - Long Text - Number - Currency - Dropdown List - Checkbox - URL - Email - Phone - Person - Task - User - Chat - File - Image - Video - Audio - AI Field - Automation Button - Record Link - JSON - Color
- By adding these fields, you can customize your table according to your needs and manage your data more effectively.
10.) Operations
On this page, you can use various buttons to manage your records: - View Record Count: You can see the total number of records and track your current data. - Import: You can add your records to the system by loading data from an external source. - Export: You can export your data in different formats and use it on other platforms. - Create New Record: You can fill in the information by using the relevant button to add a new record. Thanks to these buttons, you can manage and organize your data more easily.
11.) Automate Your Data
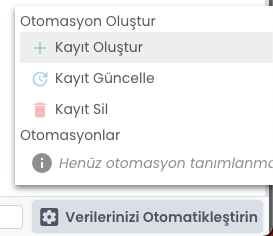
From this area, you can create automations and manage record operations. The operations you can perform are: - Record Update: You can automatically update existing records according to specific criteria. - Record Deletion: You can automatically delete records that meet the specified conditions. - Record Creation: You can ensure that new records are automatically created within specific rules. Thanks to automations, you can increase your efficiency by minimizing manual operations.