Automatic Tagging via Chatbot
You can automatically give tags to your customers via chatbot. In the steps you specify in your chatbot scenario, you can automatically assign the tags you create to users. Thus, when users reach that step, they automatically receive the relevant tag.
Step-by-Step Automatic Tagging
1. Creating Tags
First, create tags suitable for your needs.
2. Scenario Steps
In your chatbot scenario, determine which tag will be given at which step.
3. Automatic Tagging
When users reach the steps you specify, the system automatically assigns these tags to the user.
Using Tags
1. Filtering
You can filter tagged users from the archive.
2. Reviewing Conversations
You can view conversations of tagged users specifically.
3. Segmentation
You can segment users according to their tags.
4. Data Download
You can download tagged user data.
5. Observation
You can observe these users and make better analysis.
Thanks to this feature, you can better manage your customers and provide personalized service.
You can understand how tags are given through chatbot by following the steps below.
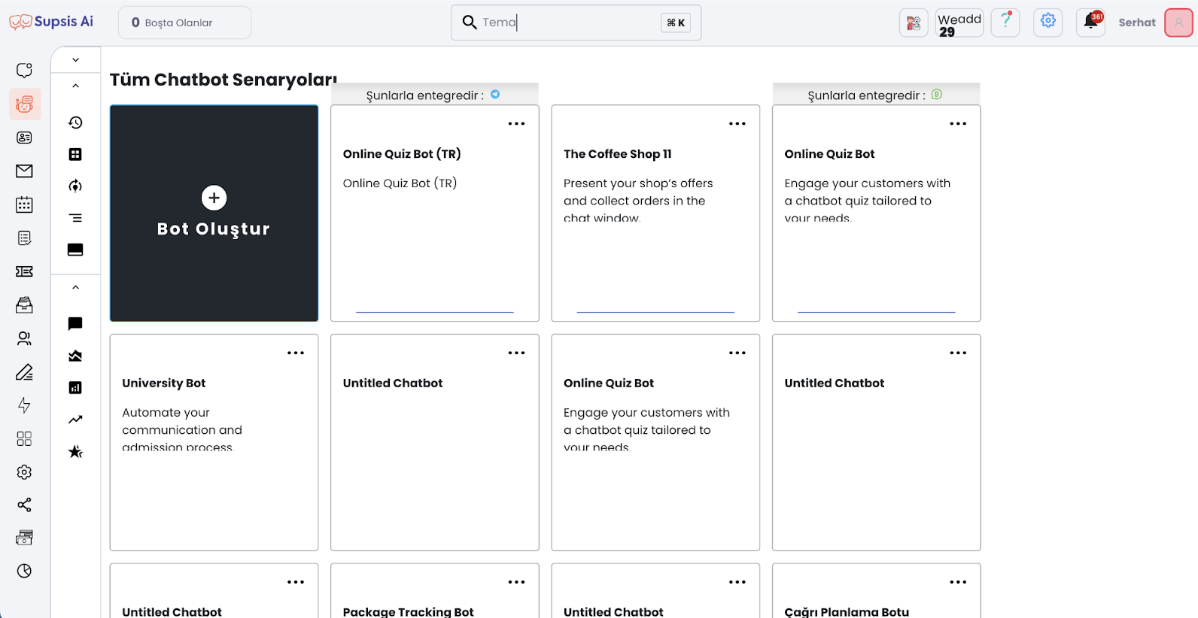
- First, go to the chatbot menu.
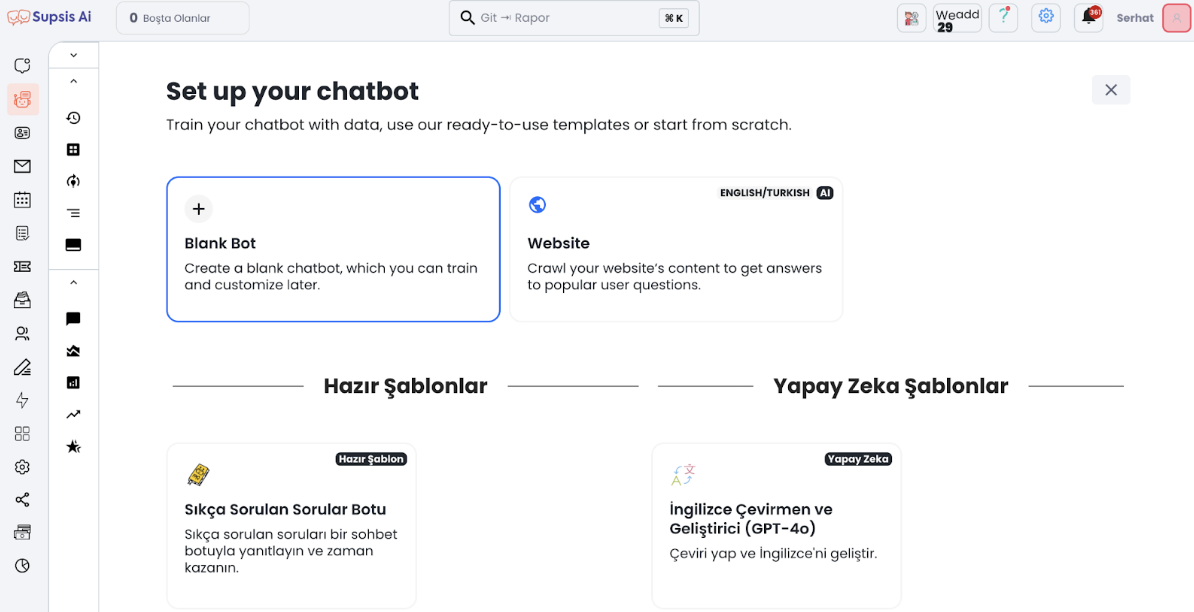
- Click on create bot and then click on the Blank Bot option.
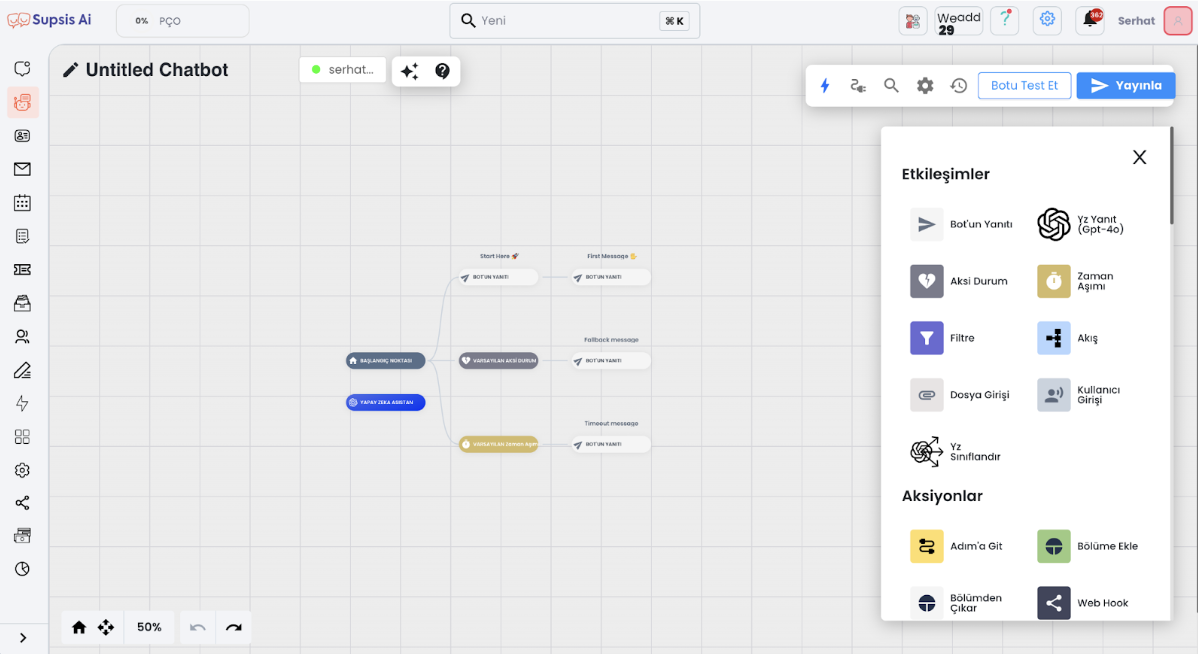
- An interface where you can create your chatbot scenario appeared.
- Let's make a small example. Click on the block that says Start Here, let 3 questions be asked to the customer and ask them to make a choice. Let's create the choices "I want to place an order" - "Information about Supsis" - "Call me".
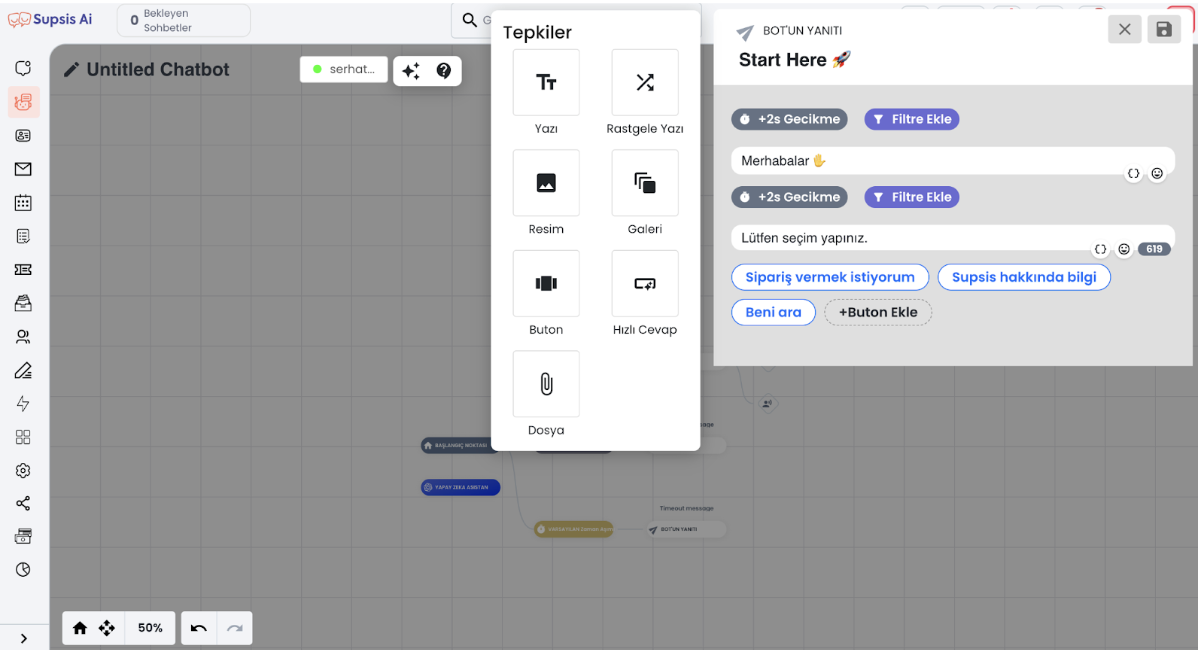
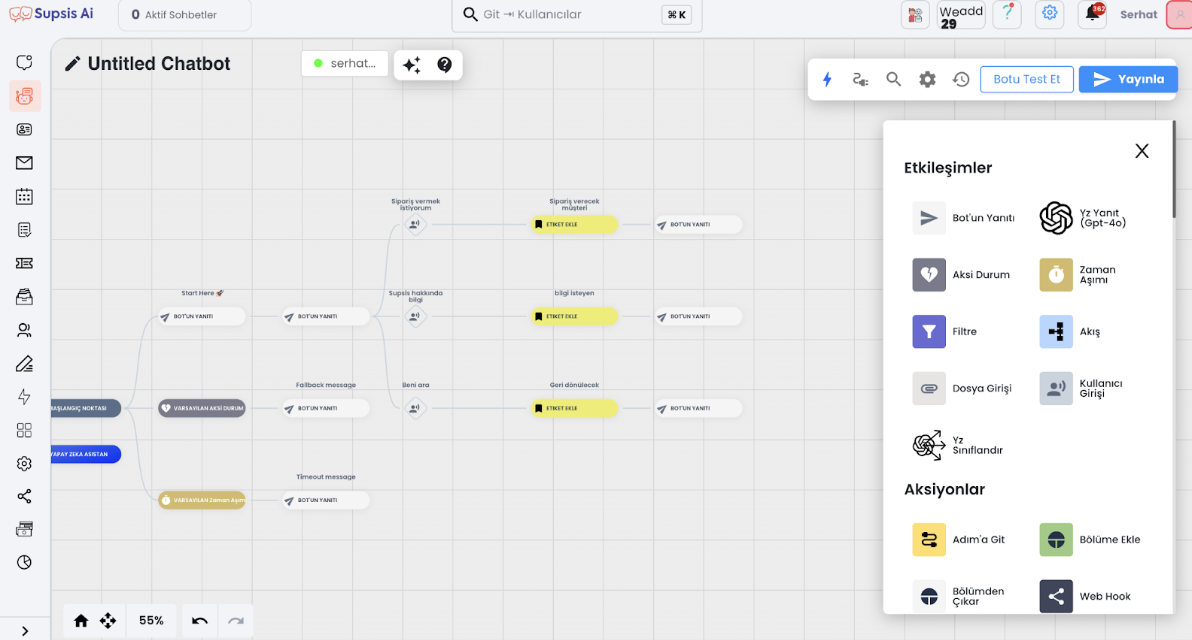
- Then let's add user inputs to make the redirection of the buttons. After adding user inputs and ensuring redirection, let's drag and drop the "Add Tag" feature to the relevant parts.
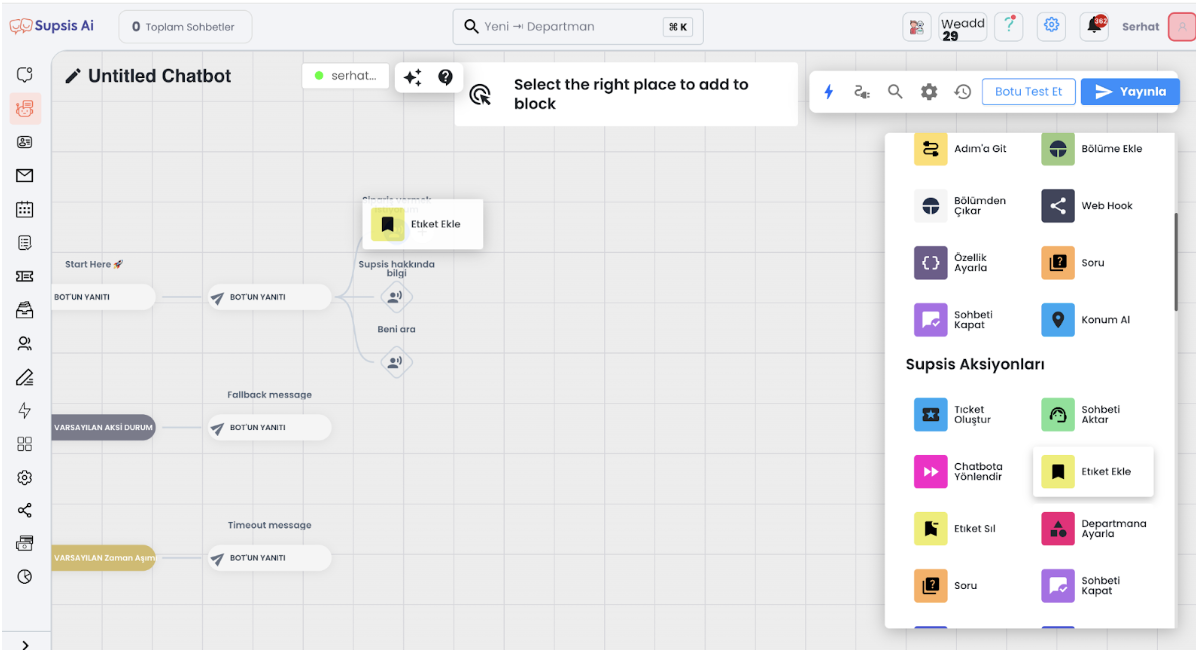
- Then let's add "bot's response" to the next steps to determine the answer to be given to users who receive the tag.
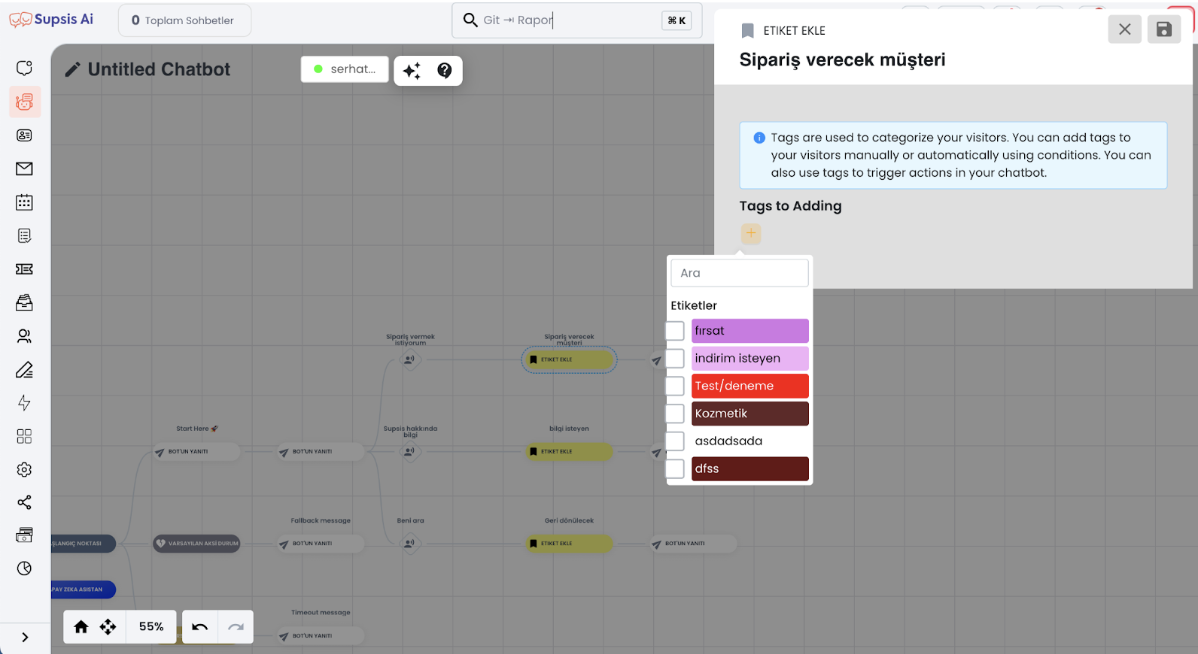
- Now let's determine the tag by clicking on the yellow colored add tag block we added. (If you haven't defined tags before, go to the Contents menu and add new tags from the tags section there.)
That's all the process. After giving the tags you want to the steps you want, click the "publish" button from the top right to publish your current scenario.